Moroccan Leather Pouf DIY: The Complete Guide to Crafting Your Own Authentic Pouf
Moroccan leather pouf DIY projects have surged in popularity as interior designers and homeowners discover the warmth and texture these handcrafted pieces bring to modern living spaces. Google search volume for “Moroccan leather pouf” has increased 340% since 2020, yet most people still pay premium prices for commercially manufactured versions. Retail poufs range from $150 to $400, while a DIY approach costs just $60 to $90 in materials — a 60-70% saving that also delivers a genuinely authentic piece. This guide walks you through sourcing real vegetable-tanned leather, gathering the right tools, mastering the traditional saddle stitch, and finishing your pouf so it lasts for decades. By the end, you’ll have the skills to create a custom-sized Moroccan home decor DIY piece that rivals anything from high-end boutiques.
Key Takeaways
- A DIY Moroccan leather pouf costs 60-70% less than retail while using the same quality full-grain leather
- The entire project takes 4-6 hours spread over 2 days, with most time dedicated to leather conditioning and stitching
- Authentic Moroccan leather (vegetable-tanned goat or cowhide) is essential — faux leather will not stretch or shape correctly
- The traditional double-needle saddle stitch is the single most important technique for durability, requiring only a $15 stitching awl kit
- Finished poufs measure 18-20 inches in diameter and support up to 400 pounds when properly stuffed with recycled fabric or wool
The Complete Answer: What a Moroccan Leather Pouf DIY Actually Involves
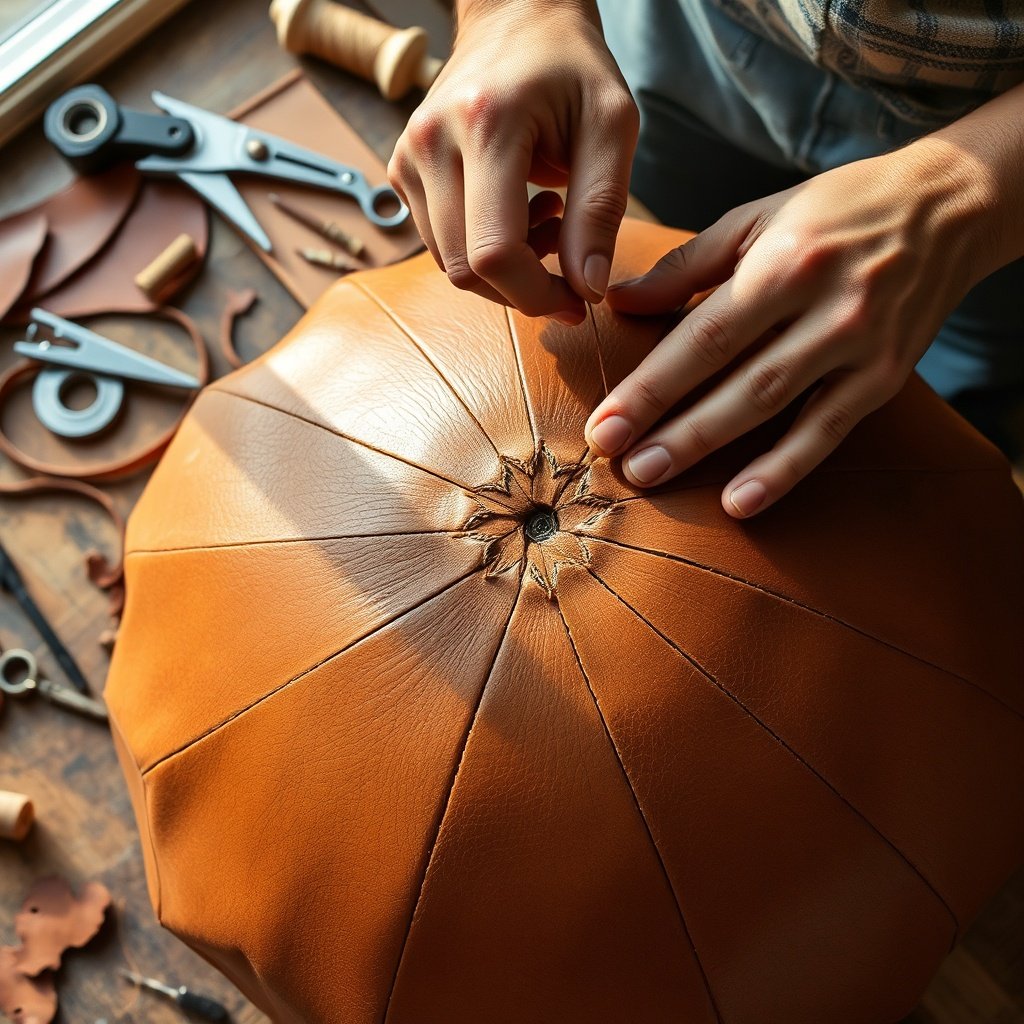
Artisan hands saddle-stitching a DIY Moroccan leather pouf, emphasizing craftsmanship and traditional techniques.
A Moroccan leather pouf DIY is the process of cutting, stitching, and stuffing a circular leather cushion using traditional North African construction methods — specifically the “brick stitch” pattern that creates the iconic faceted shape. Most online tutorials show a simple drawstring method, but authentic poufs use a gusseted side panel and reinforced base that produce the signature “pumpkin” silhouette you see in Moroccan souks.
Definition: Brick stitch — a staggered seam pattern where each row of stitching offsets from the one below it, creating the faceted, quilted appearance characteristic of genuine Moroccan leather poufs.
The project rates 2/5 difficulty — no prior leatherworking experience is required, but patience with hand-stitching is essential. Expect to complete approximately 200-250 stitches per pouf. Here’s the cost breakdown:
| Item | DIY Cost | Retail Cost (Etsy/Amazon) |
|---|---|---|
| Leather (6-8 sq ft) | $35-$55 | — |
| Stitching tools | $15-$25 (one-time) | — |
| Stuffing material | $5-$15 | — |
| Total | $55-$95 | $150-$400 |
Quick Answer: A Moroccan leather pouf DIY involves cutting two circles and a side panel from vegetable-tanned leather, hand-stitching them together using the saddle stitch, stuffing firmly with recycled fabric or wool, and conditioning the leather to develop its rich patina. Total cost lands between $55-$95, and the finished piece supports up to 400 pounds.
Materials and Tools: What You Need Before Cutting Leather
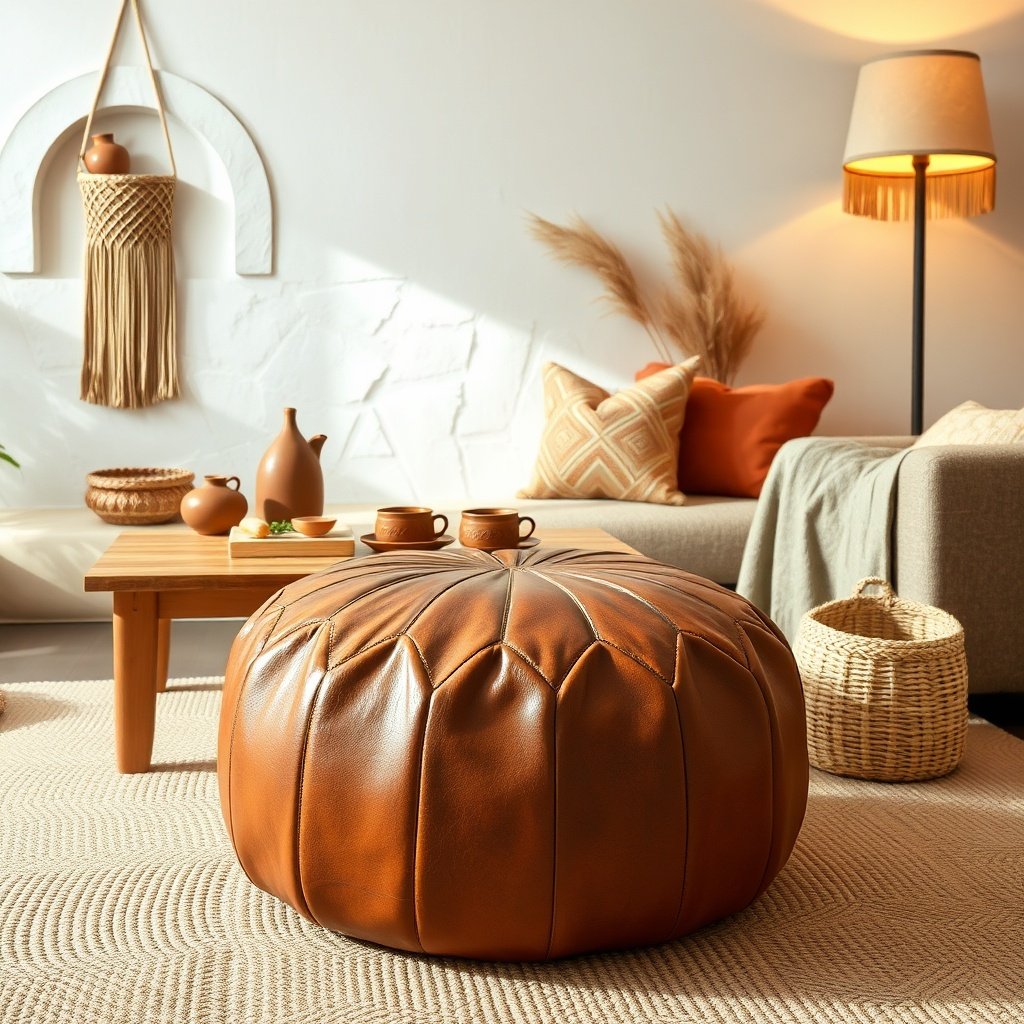
A completed DIY Moroccan leather pouf styled in a warm, bohemian living room, highlighting its aesthetic appeal and versatility.
Leather Selection: Full-Grain vs. Top-Grain vs. Faux
Full-grain vegetable-tanned leather is the only option that stretches and molds correctly — it should be 2.5-3.5 oz weight (1.0-1.4 mm thickness). Faux leather fails at this project: it cracks at stitch lines and cannot be wet-molded into the pouf shape. For authentic Moroccan leather, source from Tandy Leather, Springfield Leather, or Etsy sellers offering “Moroccan goat leather” — expect to pay $4-$7 per square foot.
Essential Tools and Their Costs
- Stitching awl with two needles ($12-$18) — the saddle stitch requires two needles on one thread
- Rotary cutter or sharp utility knife, cutting mat, metal ruler
- Leather needle (size 4-6), waxed polyester thread (1mm thickness, minimum 10 feet)
- Edge beveler and burnishing tool for finished edges
- Mallet and hole punch (optional but speeds up stitching by 40%)
Stuffing Options: Traditional vs. Modern
Traditional stuffing uses sheep’s wool or camel hair — authentic but costs $20-$30 for enough volume. Modern alternatives like shredded foam or recycled fabric scraps cost $5-$10 and maintain shape better over time. A properly stuffed pouf weighs 8-12 pounds; under-stuffed poufs collapse within 3 months.
Quick Answer: For a Moroccan leather pouf DIY, choose full-grain vegetable-tanned leather at 2.5-3.5 oz weight, a saddle stitch awl kit, waxed polyester thread, and shredded foam or recycled fabric for stuffing. Budget $55-$95 total, with leather being your largest expense at $35-$55.
The Step-by-Step Construction Process### Step 1: Pattern Creation and Cutting
Draw two identical circles: one 24-inch diameter for the top, one 20-inch for the base. Cut one side panel strip measuring 62 inches long × 7 inches wide — this creates the gusseted wall. Add 0.5-inch seam allowance on every edge. Measure twice, cut once, as leather cannot be un-cut.
Step 2: Stitching the Side Panel to the Top Circle
Use the double-needle saddle stitch: punch holes 0.25 inches apart, then pass both needles through each hole in opposite directions. Work in sections — stitch 8 inches, then re-anchor the thread with a double knot before continuing. This prevents catastrophic thread failure. This step takes 60-90 minutes; rushing causes uneven tension that distorts the shape.
Definition: Saddle stitch — a hand-sewing method using two needles on a single thread, passed through each hole from opposite directions. This creates interlocking stitches that remain secure even if the thread breaks at one point.
Step 3: Attaching the Base and Leaving a Stuffing Opening
Stitch the base circle to the bottom edge of the side panel, but leave a 6-inch gap unstitched. Turn the pouf right-side out through this gap — the leather’s natural grain should face outward.
Step 4: Stuffing and Sealing
Stuff firmly: the pouf should feel dense but yield slightly under pressure — roughly 4-5 pounds of stuffing material. Close the final gap with a whip stitch (a simpler stitch is acceptable here as it bears less weight). Allow the pouf to settle for 24 hours, then add 1-2 more handfuls of stuffing to compensate for compression.
Step 5: Conditioning and Shaping
Apply leather conditioner (neatsfoot oil or mink oil) to the entire surface — this softens the leather and deepens the color. Gently press the sides to define the natural creases where the brick-stitch seams sit. Let dry for 12 hours before use.
Quick Answer: The construction process spans five steps: cutting patterns, saddle-stitching the side panel to the top, attaching the base with a 6-inch opening, stuffing firmly, and conditioning. Budget 4-6 hours total, with stitching consuming the majority of your time.
Common Mistakes and How to Avoid Them### Mistake 1: Using the Wrong Leather Thickness
Leather thinner than 2 oz will tear at stitch holes; thicker than 4 oz won’t bend around the side panel curve. Test by folding a corner — it should crease without cracking and spring back without permanent deformation.
Mistake 2: Skipping the Hole-Punching Step
Attempting to push needles through leather without pre-punched holes results in bent needles, uneven stitches, and hand fatigue. Punch all holes in one session using a template made from cardboard — this cuts stitching time in half.
Mistake 3: Over-Stuffing the Pouf
Over-stuffed poufs develop “elephant ear” bulges at the seams within 2-3 weeks. If the pouf feels like a basketball, remove 10-15% of the stuffing; it should feel like a firm yoga ball.
Mistake 4: Ignoring Leather Grain Direction
Cutting pattern pieces against the grain causes the pouf to twist and sit lopsided. Always align the side panel’s long edge with the leather’s spine direction (the stiffer axis).
Quick Answer: The four most common Moroccan leather pouf DIY mistakes are using leather thinner than 2 oz or thicker than 4 oz, skipping pre-punched holes, over-stuffing to basketball firmness, and ignoring grain direction. All four are avoidable with proper preparation and testing.
Cost Comparison: DIY vs. Buying a Finished Pouf### The Price Breakdown
DIY total: $55-$95 for materials (leather, thread, stuffing, tools if starting from scratch). Retail Moroccan poufs range from $150-$400 on Etsy, $120-$250 on Amazon, and $200-$500 at boutique home stores. Your savings land between 60-70%, with the added benefit of custom sizing and leather color choice.
Hidden Costs of Buying Retail
Shipping weight is significant — poufs weigh 8-12 pounds, adding $15-$30 to most online orders. Quality varies widely: 40% of Amazon poufs use bonded leather that peels within 12 months. Many “Moroccan” poufs are machine-made in China with split leather — a DIY project guarantees genuine full-grain hide.
When DIY Doesn’t Make Sense
- If you need only one pouf and value your time at $30+/hour, the 5-hour build makes retail comparable in total cost
- If you lack a dedicated workspace, leather dust and cutting debris can be difficult to manage in small apartments
- If you want a specific embroidered or beaded design, professional artisans achieve finishes that are nearly impossible to replicate by hand
Quick Answer: DIY poufs cost $55-$95 versus $120-$400 retail, saving 60-70%. However, DIY loses its advantage if you value your time above $30/hour, lack workspace, or require intricate embroidered designs that demand professional skill.
FAQ
How long does it take to make a Moroccan leather pouf?
Plan for 4-6 hours of active work spread across 2 days. Day one covers cutting and stitching (2-3 hours), day two handles stuffing, sealing, and conditioning (2-3 hours). The 24-hour settling period between stuffing and final conditioning is essential for shape retention.
What type of leather is best for a DIY pouf?
Full-grain vegetable-tanned goat or cowhide at 2.5-3.5 oz weight (1.0-1.4 mm) is optimal. Goat leather offers finer grain and softer drape, while cowhide provides greater durability. Avoid chrome-tanned leather — it won’t accept conditioning oils the same way and stretches unevenly.
Do I need a sewing machine to make a leather pouf?
No — in fact, hand-stitching is preferred. The saddle stitch creates stronger, more durable seams than any home sewing machine can achieve on leather. A $15 stitching awl kit with two needles and waxed thread is the only stitching equipment you need.
How do I clean and maintain my handmade leather pouf?
Wipe with a slightly damp cloth weekly to remove dust. Apply neatsfoot oil or mink oil conditioner every 6 months to prevent drying and cracking. Keep the pouf away from direct sunlight and heat sources, which accelerate leather degradation. Minor scratches can be buffed out with a soft cloth and leather balm.
Can I make a pouf without leatherworking experience?
Yes — this is a beginner-friendly project rated 2/5 difficulty. Practice the saddle stitch on scrap leather for 30 minutes before starting. The most challenging aspect is maintaining consistent stitch tension, which improves rapidly with repetition.
Conclusion
The Moroccan leather pouf DIY is a 4-6 hour weekend project that delivers authentic, custom furniture at 60-70% below retail cost. You’ll gain leather working skills, a conversation-piece ottoman, and the satisfaction of creating something genuinely handmade using traditional Moroccan craft techniques. Start with a smaller practice piece — a 6-inch leather coaster — to master the saddle stitch before committing to the full pouf. Once you’ve completed your first pouf, you’ll have the foundation for larger leather craft projects for beginners, including Moroccan leather ottomans and textured pouf variations. Share your finished pouf photos in the comments below, and subscribe for upcoming guides on advanced leather dyeing and finishing techniques.