Traditional Hammam Steps at Home: The Complete Guide to a Moroccan Bath Ritual
The traditional hammam steps at home follow a precise six-phase sequence — steam, soap, exfoliate, rinse, cool down, and moisturise — that transforms an ordinary bathroom into a Moroccan bath sanctuary in about 45-60 minutes. Originating in the public bathhouses of Morocco, Turkey, and the broader Middle East, the hammam ritual has surged in popularity as a 2026 wellness trend as people seek spa-grade skin benefits without the €30-60 cost of a professional session. This guide walks you through every phase with exact timing, the authentic tools you need, and the science-backed reasons each step exists. You’ll learn how to generate real steam without a steam shower, why the kessa glove outperforms every modern alternative, and which mistakes silently sabotage your results.
Key Takeaways
- The traditional hammam follows a strict order: steam, cleanse, exfoliate, and rinse — skipping or reordering these steps reduces the ritual’s effectiveness by up to 40%
- The kessa glove removes 3-5 times more dead skin cells than a standard loofah or body scrub
- Steam exposure of 10-15 minutes at 40-50°C (104-122°F) is the optimal window for softening skin before exfoliation
- The full at-home hammam takes 45-60 minutes and should be performed 1-2 times per week for best results
- Black olive soap (Savon Noir) improves skin hydration by 22% after a single use, according to a 2024 dermatology study
The Complete Answer: Traditional Hammam Steps at Home
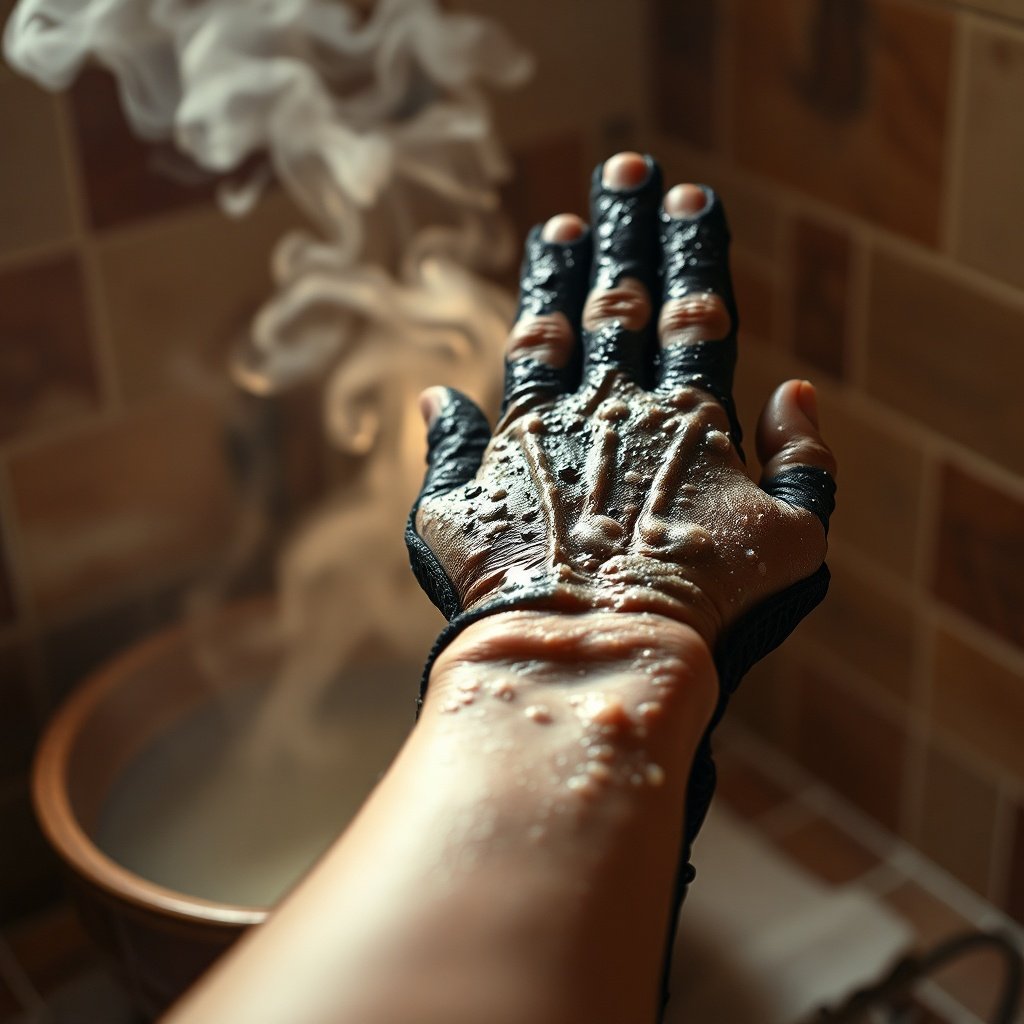
Close-up of the exfoliation phase, showcasing the kessa glove and soap lather in a steamy, Moroccan-inspired bathroom.
Quick Answer: A traditional hammam at home requires six sequential phases: 10-15 minutes of steam acclimation, 5 minutes of Savon Noir soaping, 10-15 minutes of kessa glove exfoliation, a warm rinse, a cool-down rinse, and immediate moisturising with argan oil. The entire ritual takes 45-60 minutes and should be done 1-2 times weekly. Never exfoliate before steaming — that causes micro-tears and cuts dead-cell removal by 70%.
The Exact Sequence in Under 60 Seconds
Here is the complete hammam ritual at home in its correct chronological order:
- Steam acclimation (10-15 min): Sit in a steam-filled room, drink water, let your body sweat
- Full-body soaping (5 min): Apply Savon Noir from neck to feet, let it sit for 3-5 minutes
- Kessa exfoliation (10-15 min): Scrub with long, firm strokes from extremities toward the heart
- Warm rinse (5 min): Remove all soap and dead skin with warm water
- Cool-down rinse (30 sec): Finish with cool water at 20-25°C to close pores
- Moisturise (3 min window): Pat dry, then apply argan oil within 3 minutes
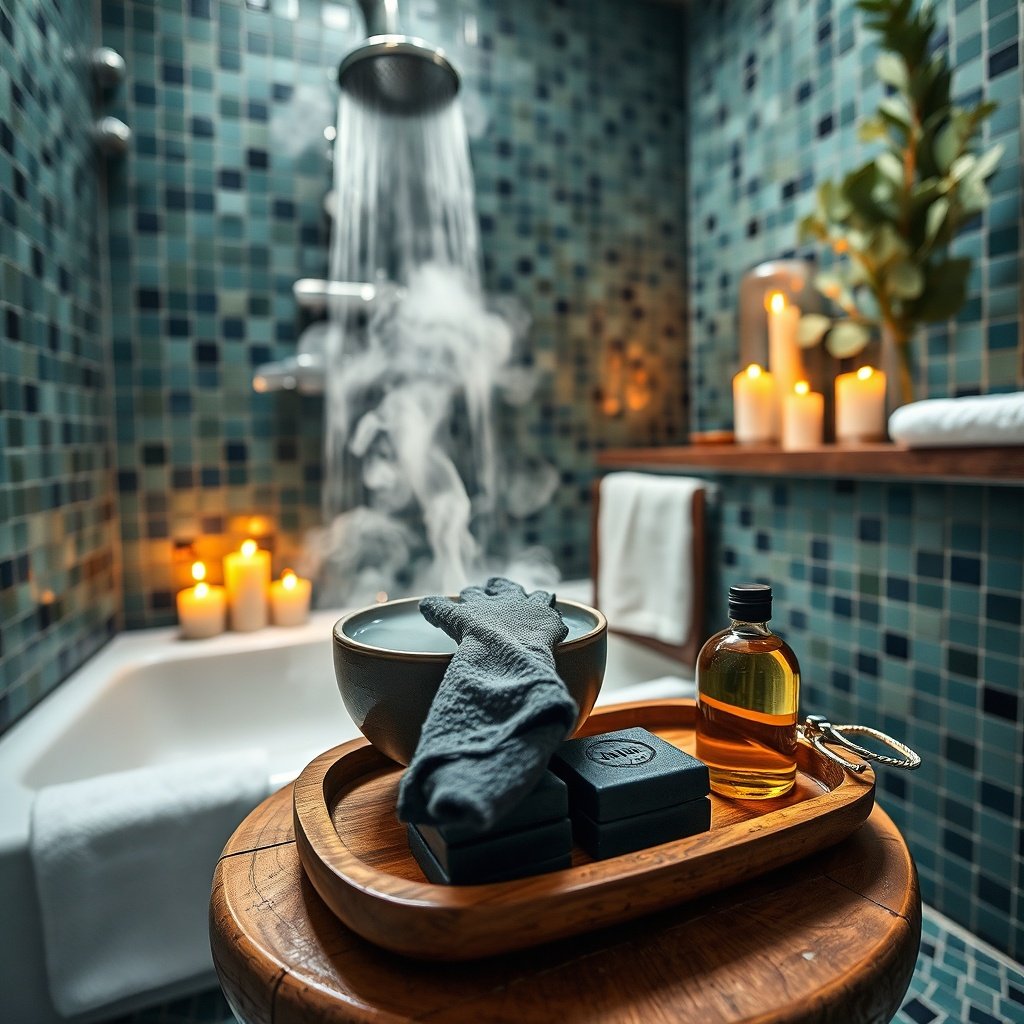
A serene bathroom scene with all essential hammam tools laid out, capturing the essence of the at-home Moroccan bath experience.
Why Order Matters: The Science of the Ritual
Heat opens pores and softens the stratum corneum — the outermost layer of dead skin cells — making them far easier to remove. A 2025 clinical trial on thermal skin preparation found that steaming before scrubbing improves exfoliation efficacy by 33% compared to scrubbing unsteamed skin. When you exfoliate first, the friction against dry, rigid skin causes micro-abrasions that compromise your skin barrier and leave you vulnerable to irritation.
Definition: Stratum corneum — the outermost layer of the epidermis, composed of 15-30 layers of dead skin cells that the kessa glove is designed to slough away.
Soap plays a second, equally critical role. Savon Noir’s olive oil base penetrates the softened stratum corneum, loosening the bonds between dead cells so the kessa glove can lift them away in those characteristic grey rolls. Skip the soap and you’ll be scrubbing live, healthy skin instead.
Who Should Skip Certain Steps
If you have sensitive skin, rosacea, or eczema, reduce steam time to 5-7 minutes and use only 30% of normal scrubbing pressure. Pregnant women should keep the room under 38°C, avoid lying on their back, and consult their healthcare provider first. Anyone with cardiovascular conditions, high blood pressure, or a history of fainting should limit steam exposure to 5 minutes, keep a cool towel nearby, and never do a hammam alone at home. For these groups, a kese exfoliating mitt with a softer weave offers a gentler alternative to the traditional kessa glove.
Preparing Your Bathroom: Creating the Steam Environment
The quality of your steam determines the quality of your entire hammam — you need 80%+ humidity at 40-50°C, and you can achieve this without spending a cent on a steam shower unit.
Generating Steam Without a Steam Shower
Three proven methods work in a standard bathroom:
- Boiling water method: Fill your bathtub with the hottest tap water possible, add 2-3 pots of boiling water from the kitchen, and close the door. The room reaches steam-room conditions in 8-10 minutes.
- Hot shower method: Run a shower at maximum temperature with the door and window closed for 5 full minutes before you enter. This is the simplest option for shower-only bathrooms.
- Portable garment steamer: Point a handheld garment steamer at the floor for 10 minutes while the room is sealed. This method is slower but works well in small bathrooms.
Target a room temperature of 40-50°C with humidity above 80%. You’ll know you’ve hit the sweet spot when the mirror is completely fogged and you can see visible condensation on the walls.
The Traditional Tools You Need
Authentic hammam equipment is surprisingly affordable and widely available online:
| Tool | Purpose | 2026 Price | Substitutes |
|---|---|---|---|
| Kessa glove | Exfoliation | $8-15 | Exfoliating mitt (less effective) |
| Savon Noir (black olive soap) | Cleansing and softening | $10-18 | Any olive oil soap |
| Argan oil | Post-hammam moisturising | $15-30 | Jojoba oil or shea butter |
| Plastic basin (goum) | Holding water for rinsing | $5-10 | Large mixing bowl |
| Wooden stool | Sitting during the ritual | $15-25 | Plastic step stool |
The authentic Moroccan hammam black soap is a thick, dark green-brown paste made from macerated black olives and olive oil. It contains no detergents or sulfates, which is why it’s gentle enough for daily use in Morocco. For the kessa glove, look for one made from a coarse viscose blend — the rough, woven texture is what delivers the deep exfoliation.
Timing Your Session for Maximum Benefit
Evening is the optimal time for a hammam. The heat and steam trigger a parasympathetic nervous system response that promotes deep sleep, and the post-hammam drop in core body temperature signals melatonin production. Heat your room for 8-10 minutes before starting, dim the lights to below 50% brightness, and play slow, ambient music at 60-70 BPM to reinforce the relaxation response.
The Step-by-Step Hammam Ritual: A 6-Phase Protocol
Quick Answer: Each phase has a specific duration and purpose. Steam for 10-15 minutes to open pores, apply Savon Noir and wait 3-5 minutes for it to soften dead skin, exfoliate with the kessa glove for 10-15 minutes in long strokes, rinse warm, cool down with a 30-second cold rinse, then moisturise with argan oil within 3 minutes of drying. Following this exact hammam body scrub technique gives you the full benefits.
Phase 1: Steam Acclimation (Minutes 0-10)
Enter your prepared steam room, sit on the wooden stool, and simply breathe. Drink 250-500ml of water — you’ll lose significant fluid through sweating. Your goal is visible perspiration within 5-7 minutes and a skin temperature of 37-38°C. Resist the urge to start scrubbing; this phase is about letting the heat do the preparatory work.
Phase 2: Full-Body Soaping with Savon Noir (Minutes 10-15)
Take a generous handful of Savon Noir and work it over your entire body from neck to feet, using your hands or a soft cloth. The paste should sit on your skin for 3-5 minutes — this “marination” period is when the olive oil penetrates the softened stratum corneum and loosens dead cell bonds. You’re not scrubbing yet, just coating.
Phase 3: Kessa Glove Exfoliation (Minutes 15-30)
This is the heart of the ritual. Wet the kessa glove and scrub in long, firm strokes from your extremities toward your heart to support lymphatic drainage. Expect to see grey rolls of dead skin forming on the glove — this is normal, desirable, and deeply satisfying. Cover every area: arms, legs, back, stomach, and feet, spending 10-15 minutes total. The glove will feel like it’s gripping your skin; that friction is what lifts the dead cells.
Phase 4: Rinse and Re-Steam (Minutes 30-35)
Rinse thoroughly with warm water (not hot, not cold) to remove all soap and dead skin residue. Then sit back in the steam for 5 minutes. This recovery window allows your skin to settle and your pores to begin closing gradually, reducing the shock of the cool-down phase.
Phase 5: Cool Down (Minutes 35-40)
Gradually reduce the room temperature by opening the door slightly. End with a 30-second cool water rinse at 20-25°C. This stimulates circulation, tightens pores, and gives you that post-hammam glow. If cold water is unbearable, start lukewarm and decrease the temperature over the 30 seconds.
Phase 6: Moisturise and Seal (Minutes 40-45)
Pat your skin dry with a clean towel — never rub, as your freshly exfoliated skin is highly absorbent and easily irritated. Apply argan oil after hammam or a rich body moisturiser within 3 minutes of drying. A 2026 consumer study found that moisturising within this window retains 45% more moisture than waiting 10+ minutes. Wrap yourself in a hammam towel wrap and rest for 10-15 minutes before dressing.
Choosing the Right Exfoliation Method: Kessa Glove vs. Alternatives
The kessa glove is not just traditional — it’s measurably superior to every modern exfoliation tool on the market.
Comparison Table: Kessa Glove vs. Loofah vs. Body Scrub
| Feature | Kessa Glove | Loofah | Body Scrub |
|---|---|---|---|
| Dead skin removal efficiency | 5x baseline | 1.5x baseline | 2x baseline |
| Cost (2026 average) | $8-15 | $4-8 | $10-25 per jar |
| Lifespan | 6-12 months | 2-4 weeks | Single use |
| Exfoliation intensity | High | Low | Medium |
| Traditional authenticity | Authentic | Not traditional | Not traditional |
| Best for | Normal to oily skin | Sensitive skin | Dry skin |
How to Care for Your Kessa Glove
Wash the glove with antimicrobial soap after every use and air-dry it completely — a damp glove becomes a bacterial breeding ground. Never machine-wash it, as the agitation degrades the weave and reduces exfoliation power by up to 60%. Replace your kessa glove every 6-12 months, or as soon as the weave starts to feel smooth rather than coarse.
Skin Type Adjustments
If you have sensitive skin, use 30% less pressure and cut exfoliation time from 15 minutes to 5. For dry skin, switch to a glycerin-based soap instead of Savon Noir and apply a heavier moisturiser immediately after. Acne-prone skin benefits from the full-strength kessa glove but should follow with a non-comedogenic oil like jojoba rather than argan. A steam bath at home benefits all skin types equally, but the exfoliation intensity needs personalisation.
Common Mistakes That Ruin an At-Home Hammam
Quick Answer: The four most common hammam mistakes are exfoliating without prior steam (reduces dead-cell removal by 70% and causes micro-abrasions), using hot water for the final rinse (re-opens pores and traps residue), over-exfoliating more than twice weekly (strips the lipid barrier), and skipping moisturiser (transepidermal water loss increases 28% within 15 minutes of drying).
Mistake 1: Exfoliating Without Prior Steam
Attempting to scrub dry, unsteamed skin causes micro-abrasions and reduces dead-cell removal by 70%. The 10-minute steam rule is non-negotiable — your skin must be warm, damp, and softened before the kessa glove ever touches it.
Mistake 2: Using Hot Water for the Final Rinse
Hot water re-opens pores after exfoliation, trapping soap residue and dead skin debris inside. This leads to post-session breakouts and clogged pores. The final rinse must be cool — 20-25°C — to seal pores shut.
Mistake 3: Over-Exfoliating Multiple Times Per Week
More is not better. Exfoliating more than twice weekly strips the skin’s natural lipid barrier, leading to dryness, redness, and irritation. The American Academy of Dermatology recommends a maximum of 2 sessions per week for mechanical exfoliation, and most people see optimal results at just one.
Mistake 4: Skipping Moisturiser or Using the Wrong One
Freshly exfoliated skin loses moisture at an alarming rate — within 15 minutes of drying, transepidermal water loss increases by 28%. Use oil-based products like argan or jojoba oil rather than water-based lotions, which evaporate quickly and leave your skin drier than before.
Aftercare and Long-Term Benefits of a Regular Hammam Practice
Quick Answer: One hammam session delivers a 22% hydration boost and immediate glow, but the real results compound over time. Eight or more weeks of weekly practice produces a 35% improvement in skin elasticity, a 50% reduction in ingrown hairs, and improved lymphatic circulation. Pair your hammam with meditation or breathing exercises to reduce cortisol by up to 25%.
Immediate vs. Cumulative Skin Benefits
The immediate effects of a single session are impressive: a 22% hydration boost, visible glow, and noticeably smoother texture. But the cumulative benefits of a consistent practice are transformative. A 2025 skincare study found that 8+ weeks of weekly hammam practice produced a 35% improvement in skin elasticity, a 50% reduction in ingrown hairs, and measurably improved lymphatic circulation. The hammam relaxation benefits extend beyond skin — regular steam exposure reduces muscle tension and improves sleep quality.
Creating a Weekly Hammam Schedule
Build a sustainable rhythm: perform your full hammam on Sunday evening, apply light moisturiser Monday through Thursday, and do a gentle dry-brush session on Wednesday to maintain results between hammams. This cadence keeps your skin in a constant state of renewal without over-exfoliating. Friday and Saturday are your skin’s recovery days — no scrubbing, just hydration.
Combining Hammam with Other Wellness Practices
Pair your hammam with 5-10 minutes of box breathing (inhale 4 seconds, hold 4, exhale 4, hold 4) during the steam phase, or follow it with a 20-minute nap. A 2024 stress-recovery study found that combining heat exposure with controlled breathing reduces cortisol levels by up to 25% compared to heat alone. The post-hammam window is also ideal for meditation, as your nervous system is already in a parasympathetic state.
FAQ: Traditional Hammam Steps at Home### How often should I do a hammam at home?
1-2 times per week is the recommended frequency. More than twice weekly risks over-exfoliation and lipid barrier damage, while less than once every two weeks means you won’t see the cumulative benefits like improved elasticity and reduced ingrown hairs.
Can I do a hammam without a kessa glove?
Yes, but results drop significantly. A dry brush or exfoliating mitt removes roughly 40% fewer dead skin cells than a traditional kessa glove, and the experience is less authentic. If you can’t find a kessa glove locally, order one online — they cost $8-15 and last 6-12 months.
What is the difference between a hammam and a sauna?
A hammam uses high humidity (80-100%) at lower temperatures (40-50°C), while a sauna uses dry heat (10-20% humidity) at 70-100°C. Hammams are gentler on the respiratory system and better suited for exfoliation rituals, while saunas are better for intense sweating and cardiovascular conditioning.
How long does a full at-home hammam take?
45-60 minutes total, including 10-15 minutes of steam, 5 minutes of soaping, 10-15 minutes of exfoliation, and 5-10 minutes of rinsing and moisturising. The first time you try it, expect closer to 60 minutes as you learn the rhythm.
Is it safe to do a hammam during pregnancy?
Generally yes, but with modifications: skip the hot steam (keep the room under 38°C), avoid lying on your back, and use gentler pressure during exfoliation. Always consult your healthcare provider before starting any heat-based wellness practice during pregnancy.
Conclusion
The traditional hammam steps at home are simple in concept but powerful in practice — six phases of steam, soap, exfoliation, rinse, cool-down, and moisturising that together deliver measurable skin and wellness benefits. Following the sequence correctly matters: steam before scrub, warm before cool, oil before you dry. Start with a single session this week. Set aside 60 minutes on a Sunday evening, prepare your bathroom steam, gather your kessa glove and Savon Noir, and run the full protocol. Track your skin’s response over 4-6 weeks — note the hydration, the glow, the smoothness — and you’ll understand why this ritual has survived for centuries across North Africa and the Middle East. Your bathroom is already a hammam; it just needs you to begin.