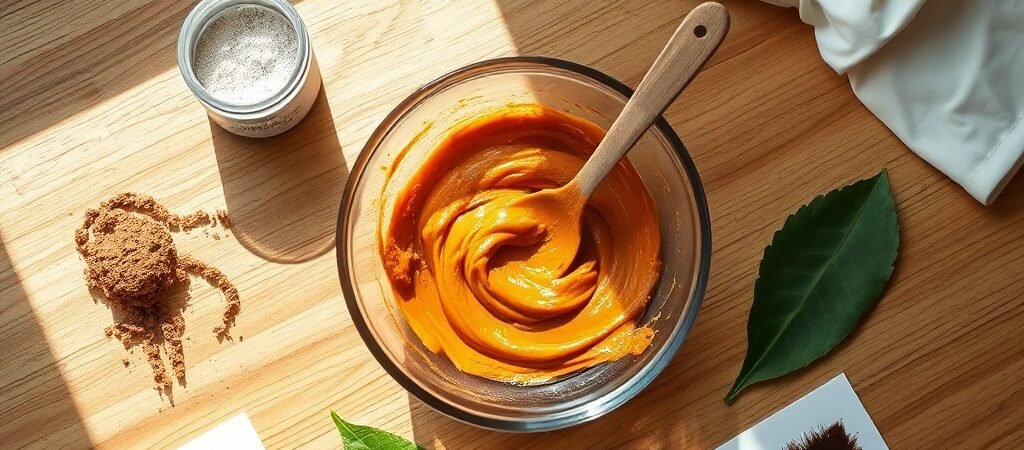
Henna hair treatment is a natural, plant-based way to colour and condition your hair, and for beginners, understanding the full process is key to getting good results. This guide walks you through Henna Hair Treatment: A Step-by-Step Process for Beginners, from choosing the right powder to aftercare, so you can start with confidence.
Quick Answer: Henna is a permanent, plant-based hair dye made from the leaves of the Lawsonia inermis plant. It bonds with the keratin in your hair to add rich reddish-brown tones while also conditioning the hair shaft.
Key Takeaways
- Henna is a permanent dye that coats the hair shaft and bonds with keratin, rather than penetrating the cortex like chemical dyes.
- Pure henna is safer than compound henna, which may contain metallic salts, PPD, or other additives.
- The final colour depends on your starting hair colour, the quality of the henna, and the dye release time.
- Always perform a patch test and a strand test before a full application.
- Henna cannot lighten hair; it only adds reddish-brown tones that deepen over the first 48 hours.
Henna Hair Treatment: A Step-by-Step Process for Beginners — What Is It and How Does It Work?
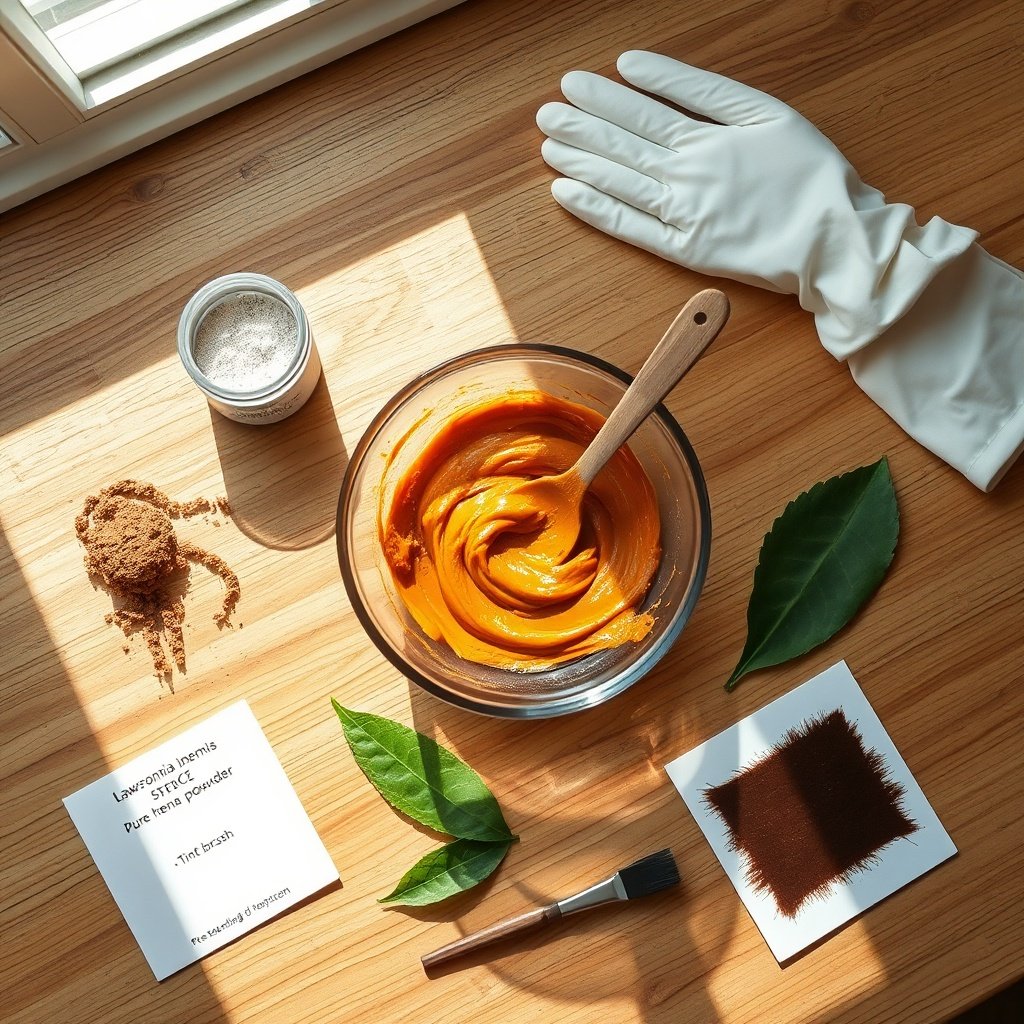
Mix your henna paste with care and always perform a strand test before full application.
Defining Henna Hair Treatment
Henna is a dye derived from the dried leaves of the Lawsonia inermis plant, which is also known as the henna tree. For centuries, it has been used not just to colour hair, but also as a conditioning treatment that leaves hair feeling thicker and shinier. The key difference between pure henna and compound henna matters a lot. Pure henna contains only ground henna leaves. Compound henna is a mix that may include other dyes, metallic salts, or synthetic additives like PPD. For a safe and predictable result, beginners should stick to pure henna.
Definition: Compound henna is any henna product that contains additional ingredients beyond pure Lawsonia inermis powder, such as metallic salts or synthetic dyes. These additives can cause unpredictable results and may react with chemical hair dyes.
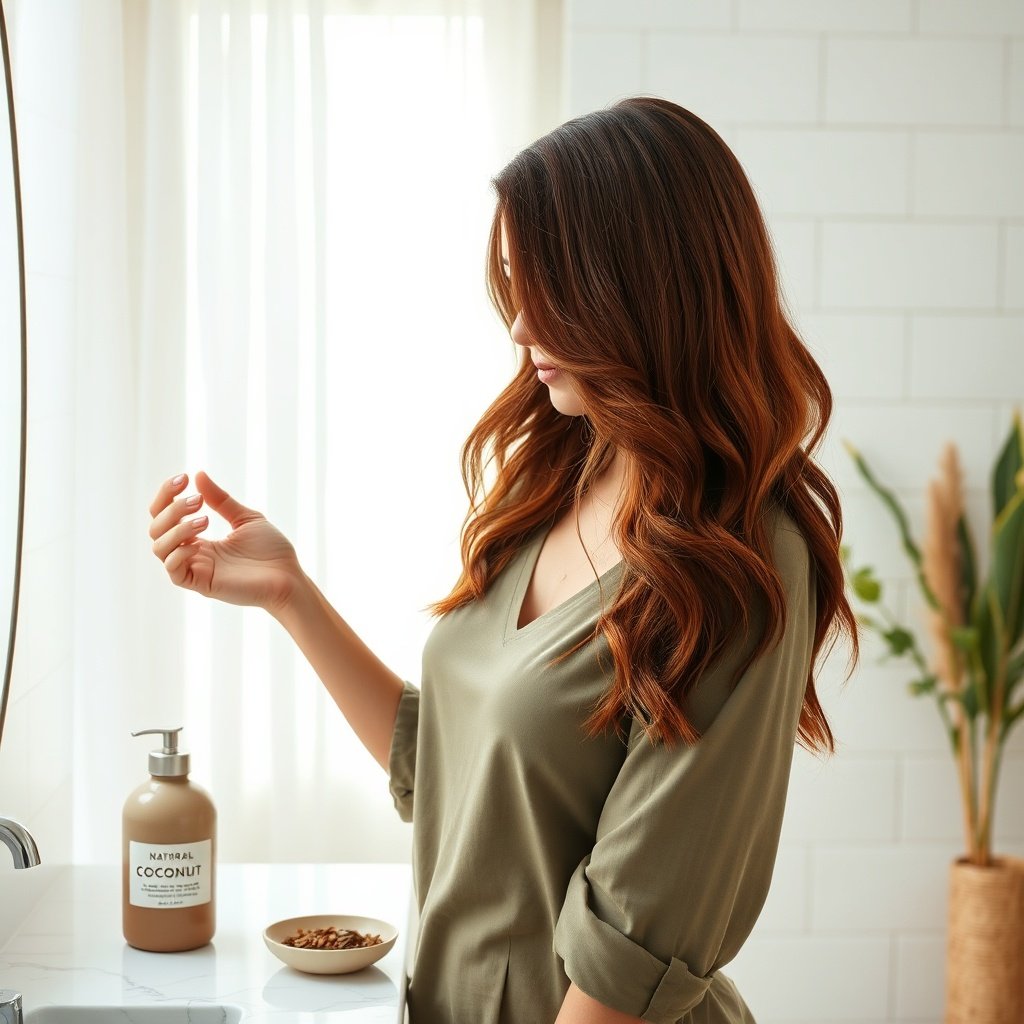
Experience the lasting color and deep conditioning benefits of plant-based henna on healthy, radiant hair.
How Henna Interacts with Hair Structure
Henna works through a molecule called lawsone, which is the natural dye in the leaves. When you apply henna paste to your hair, the lawsone molecules bind to the keratin protein in the outer layer of each hair strand. This is why henna is considered a permanent dye. It does not just sit on the surface like a temporary colour; it creates a strong bond with the hair’s protein structure. However, it coats the hair shaft rather than penetrating deep into the cortex, which is how chemical dyes work. Because henna coats the hair, it can change how your hair feels. Many people find their hair feels thicker and has more body after a henna treatment. It can also affect hair porosity, making the hair less porous and more resistant to moisture, which is worth keeping in mind if you plan to use other treatments.
What Henna Can and Cannot Do
Henna offers several realistic benefits:
- Adds rich reddish-brown tones to your hair.
- Improves shine and makes hair look healthier.
- Makes hair feel thicker and more voluminous.
But henna has clear limitations:
- It cannot lighten your hair. Henna only adds colour on top of your natural pigment.
- Its colour range is limited to shades of red, copper, and reddish-brown.
- It will not repair split ends or reverse damage. Henna conditions the hair, but it cannot fix broken or damaged strands.
Preparing for Your First Henna Application
Before you mix anything, you need to prepare properly. This means choosing the right henna, testing for allergies, and setting up your workspace.
Choosing the Right Henna Powder: Pure vs. Compound
When you shop for henna, read the ingredient label carefully. Pure henna should list only Lawsonia inermis as the active ingredient. Avoid any product that lists metallic salts, PPD, or other dyes. A good starting point for beginners is body art quality (BAQ) henna, which is finely sifted and free from additives. It is designed for skin use, so it is also safe for hair.
Quick Answer: Pure henna contains only powdered Lawsonia inermis leaves. Compound henna may contain metallic salts or synthetic dyes that can react unpredictably with chemical treatments, so pure henna is always the safer choice.
Patch Testing and Strand Testing: Why They Matter
A patch test is essential to check for allergic reactions. Mix a small amount of henna paste and apply it to a small area of skin, such as the inside of your wrist. Leave it for 24 hours and watch for redness, itching, or swelling. A strand test helps you predict the final colour and coverage on your specific hair. Take a small section of hair, apply the paste, and follow the full process. This tells you how long to leave the henna on and what shade to expect. Skipping these steps risks both allergic reactions and disappointing colour results. They take very little time and can save you from a bad outcome.
Setting Up Your Workspace and Tools
Henna stains everything it touches, so preparation is crucial. Gather these tools before you start:
- A mixing bowl (non-metal, as metal can react with henna)
- A spatula or spoon for stirring
- Gloves to protect your hands
- Plastic wrap or a shower cap
- Hair clips for sectioning
- An old towel to protect your shoulders
- Old clothes you don’t mind staining
Cover your work surface with newspaper or a plastic sheet. Keep a wet cloth nearby to wipe up spills quickly. Henna stains are hard to remove once they set.
The Step-by-Step Henna Application Process
This is the core of Henna Hair Treatment: A Step-by-Step Process for Beginners. Follow these steps carefully for even coverage and a good result.
Mixing the Paste: Consistency and Timing
The consistency of your henna paste is important. It should be similar to thick yogurt — smooth, creamy, and not too runny. If it drips off your hair, it is too thin. If it is too dry, it will be hard to spread. To mix, combine henna powder with your chosen liquid. Water is the simplest option, but some people use tea or lemon juice to adjust the colour. Add liquid gradually and stir until you reach the right consistency. After mixing, cover the bowl and let the paste sit. This is called the dye release period, and it allows the lawsone molecules to become available. The time needed varies by brand and freshness. You can test dye release by dabbing a small drop of paste on your skin — if it leaves a quick orange stain, the dye is ready.
Applying the Paste: Techniques for Even Coverage
Start with clean, dry hair. Section your hair into four quadrants — top left, top right, bottom left, and bottom right — and secure each with a clip. Work in small sections, starting at the back of your head and moving forward. Use a tint brush or gloved hands to apply the paste from roots to ends. Massage it into the hair to ensure full saturation. Small sections are key to avoiding missed spots.
Quick Answer: For even coverage, section your hair into four quadrants and apply henna paste in small sections from roots to ends. This prevents patchy colour and ensures every strand is saturated.
Wrapping, Waiting, and Rinsing
Once your hair is fully coated, wrap it in plastic wrap or put on a shower cap. This keeps the paste warm and moist, which helps the dye bind to the hair. The waiting time depends on your henna brand and how intense you want the colour. Follow the instructions on your package, and remember that longer waiting times generally produce deeper, darker shades. When the time is up, rinse your hair thoroughly with warm water. Do not use shampoo on the first rinse. Instead, use a mild conditioner to help remove the paste and restore moisture. Keep rinsing until the water runs clear. Step-by-Step Application Process:
- Mix henna powder with your chosen liquid (water, tea, or lemon juice) until smooth.
- Cover the bowl and let the paste sit for the recommended dye-release time.
- Apply the paste to clean, dry hair, starting at the back and working forward.
- Wrap the hair in plastic wrap or a shower cap to keep it warm and moist.
- Wait for the recommended duration (varies by brand and desired intensity).
- Rinse the hair thoroughly with warm water until the water runs clear.
- Condition the hair with a mild conditioner to restore moisture.
Understanding Colour Outcomes and Aftercare
How Your Hair’s Starting Colour Affects the Result
Henna does not give everyone the same colour. Your starting hair colour plays a major role.
- Blonde or light hair will typically take on a bright orange or red tone.
- Dark hair gets a subtle reddish tint that shows in natural light.
- Grey hair may turn a lighter copper shade, and sometimes the grey hairs take the colour differently than pigmented hair.
Keep in mind that henna colour deepens over time. What you see immediately after rinsing is not the final result.
The 48-Hour Colour Development Window
Henna oxidises after application, which means the colour continues to develop and darken over the next 48 hours. This is why you should not judge the final colour right after rinsing. For the best results, avoid washing your hair for at least 24 to 48 hours after the initial rinse. This gives the henna time to fully set and oxidise. If you wash too soon, you may wash away some of the colour.
Aftercare: Maintaining Colour and Moisture
After your henna treatment, the right aftercare routine for henna-treated hair helps preserve the colour and keep your hair healthy.
- Use sulfate-free shampoos to avoid stripping the colour.
- Apply deep conditioning treatments regularly to keep hair moisturised.
- Avoid chlorine and harsh chemical treatments that can alter or fade the henna.
Henna can also be used in a DIY henna conditioner blend. Mix a small amount of henna powder with your regular conditioner to create a conditioning treatment that adds a subtle tint.
Comparing Henna with Chemical Hair Dyes
Comparison Table: Henna vs. Chemical Dyes
| Feature | Henna | Chemical Dyes |
|---|---|---|
| Colour permanence | Permanent, bonds with keratin | Permanent or semi-permanent, depending on the product |
| Ability to lighten hair | Cannot lighten hair | Can lighten hair with bleach or peroxide |
| Chemical content | Plant-based, natural | Often contains ammonia, peroxide, and synthetic dyes |
| Effect on hair structure | Coats the hair shaft, can make hair feel thicker | Penetrates the cortex, can cause damage over time |
| Colour range | Limited to reds, coppers, and reddish-browns | Wide range of colours, including blondes and pastels |
| Application time | Longer process (mixing, dye release, waiting) | Faster, typically 30 minutes to an hour |
Why Some People Choose Henna Over Chemical Dyes
Many people choose henna because it is a natural, plant-based alternative to synthetic dyes. Pure henna contains no ammonia or peroxide, which are common in chemical dyes and can be harsh on the hair and scalp. Henna also provides a conditioning benefit. Because it coats the hair, it can make hair feel thicker and look shinier. For people who want to avoid synthetic chemicals, henna offers a gentler option.
Who Should Avoid Henna (Contraindications)
Henna is not for everyone. If your hair has been treated with chemical relaxers or straighteners, henna may interact with those chemicals and cause damage. Compound henna can also react with chemical dyes, potentially causing hair damage or even breakage. If you have used chemical dyes before, always do a strand test first. If you are pregnant or have sensitive skin, consult a doctor or dermatologist before using henna. While henna is generally considered safe, everyone’s skin reacts differently.
Frequently Asked Questions (FAQ)
Can henna lighten my hair? No, henna cannot lighten hair. It only adds colour on top of your natural pigment, so it can darken your hair but never lighten it. How long does henna colour last? Henna is permanent and fades slowly. The colour can last for several weeks to months, depending on your hair type and how you care for it. Can I use henna over previously dyed hair? It depends on the type of dye used. Chemical dyes may react with henna, so always do a strand test first. If you have used metallic dyes, avoid henna entirely. Will henna cover grey hair? Yes, henna can cover grey hair, but the result may be lighter or more vibrant than on pigmented hair. Grey hairs often take on a copper or bright red tone. How often can I apply henna? Henna can be reapplied every few weeks, but it may build up on the hair over time. This buildup can make the hair feel stiff or darker with each application.
Conclusion
Henna is a natural, permanent hair dye that requires careful preparation and realistic expectations. It cannot lighten your hair, and its colour range is limited to warm reddish-brown shades. But for those who want a plant-based alternative to chemical dyes, henna offers a beautiful, conditioning result. The key to success is preparation. Always do a patch test and a strand test before your first full application. Start with pure henna, be patient with the colour development over 48 hours, and follow a proper aftercare routine to keep your hair healthy. If you are new to henna, begin with a small strand test and work your way up. This will help you understand how your hair reacts and what shade you can expect. With a little patience, henna can become a rewarding part of your hair care routine.