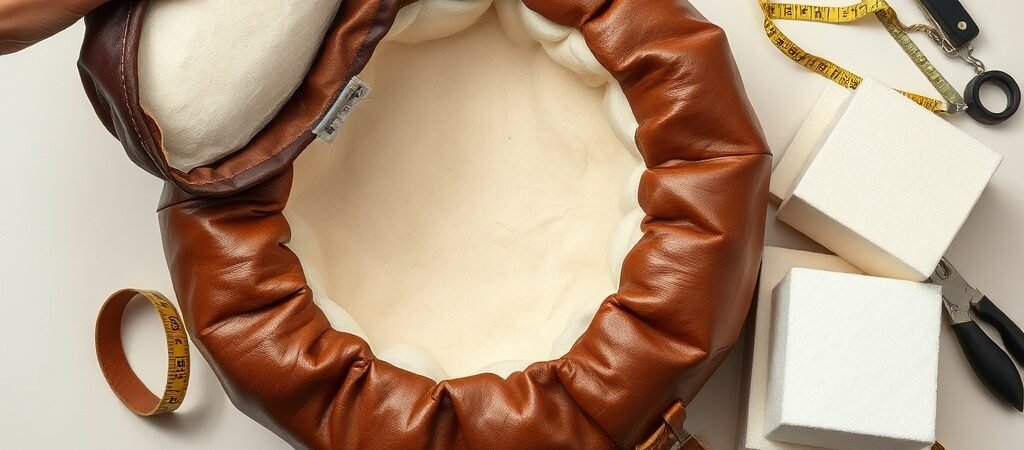
Repurposing Foam into Stylish Poufs
Recycling old foam can be a creative way to add cozy seating to your home. By turning discarded cushions or mattress foam into a pouf, you’ll save money, reduce waste, and create a unique accent that reflects your personal style. This guide walks you through the process, from selecting the right foam to finishing with a durable, eye‑catching exterior.
1. Choosing the Right Foam
When selecting foam for a pouf, consider the following factors:
– **Density** – A higher‑density foam (around 2.0–3.0 lb/ft³) offers better support and longevity.
– **Shape** – Round or square foam cores are easiest to work with, but you can also use a slab and cut it to size.
– **Condition** – Look for foam that is clean, free of mold, and not overly compressed.
If you’re looking for a ready‑made pouf that matches this DIY aesthetic, check out our **hand‑shred leather pouf** – a perfect blend of comfort and style for any living space.
2. Gathering Materials
| Item | Purpose | Suggested Quantity |
|——|———|———————|
| Foam core | Base structure | 1‑2 ft² (depending on desired size) |
| Fabric or leather | Exterior cover | 3–4 yd (to allow for seam allowances) |
| Upholstery staples or a heavy‑weight needle | Secure the cover | 1‑2 packs |
| Scissors, ruler, and pencil | Cutting and measuring | 1 set |
| Optional: foam filler | Extra cushioning | 1 lb per pouf |
For a truly Moroccan flair, explore our **handmade genuine leather pouf** – a handcrafted piece that showcases traditional stitching and vibrant colors.
3. Cutting and Shaping the Foam
1. **Measure** the desired pouf dimensions (e.g., 18 in × 18 in × 10 in).
2. **Mark** the foam with a pencil, leaving a 1‑inch border around the edge.
3. **Cut** the foam with a sharp utility knife, using a straight edge for clean lines.
4. **Trim** any uneven edges to create a smooth, rounded surface.
If you’re repurposing a mattress, slice it into smaller segments and layer them to achieve the desired height.
4. Covering the Foam
1. **Wrap** the foam with a piece of fabric or leather, ensuring it’s tight and wrinkle‑free.
2. **Secure** the material to the back of the foam using staples or a heavy‑weight needle.
3. **Trim** excess material, leaving a 1‑inch overhang on all sides.
4. **Sew** the overhangs together with a zig‑zag stitch for added durability.
For a polished finish, consider a faux leather that mimics Moroccan patterns. This adds a cultural touch while keeping maintenance low.
5. Adding Cushioning (Optional)
If you want a plush feel, insert a small bag of foam filler into the center of the pouf before securing the cover. This step is especially useful for larger poufs that will support multiple people.
6. Finishing Touches
– **Trim** any loose threads.
– **Apply** a protective spray if using natural leather to prevent staining.
– **Add** decorative elements like a fringe or tassel to enhance the Moroccan vibe.
7. Styling Ideas
– Place the pouf beside a sofa for extra seating.
– Use it as a footrest on a balcony or patio.
– Pair it with a matching throw blanket for a relaxed lounge area.
By following these steps, you’ll create a pouf that’s both functional and stylish—an excellent addition to any home décor.
**KenZadi Moroccan home décor** offers a range of beautifully crafted pieces that complement this DIY approach. Whether you’re repurposing foam or purchasing a finished pouf, the brand’s commitment to quality and design ensures your space feels inviting and authentic.