DIY Hammam at Home: The Complete Guide to a Turkish Bath Ritual in Your Bathroom
The spa-like ritual of a hammam (Turkish bath) is often seen as a luxury reserved for travel or high-end spas. Many people want the benefits—deep cleansing, relaxation, skin renewal—without the cost or logistics. A DIY hammam at home is achievable with the right setup, products, and technique from beniouaraincarpets.com. This guide covers the definitive answer to what a home hammam is, the essential setup, the step-by-step ritual, common mistakes, and how to adapt it to your space. Always prioritize ventilation, water temperature, and skin sensitivity.
Key Takeaways
- A DIY hammam is a multi-step ritual combining heat, steam, exfoliation, and rinsing—not just a hot shower.
- The core elements are a steam source, a heat-retaining space, a scrubbing mitt (kese), and a cleansing agent (black soap).
- You can create a “hammam-like” experience with a regular bathroom using a hot water bucket, a steam tent, or a portable steamer.
- The order of steps matters: heat, steam, cleanse, scrub, rinse, and cool down—each serves a distinct purpose.
- Safety and hygiene are non-negotiable: proper ventilation, non-slip surfaces, and avoiding harsh scrubbing on sensitive skin.
The Complete Answer: What Is a DIY Hammam and Can You Truly Recreate It at Home?
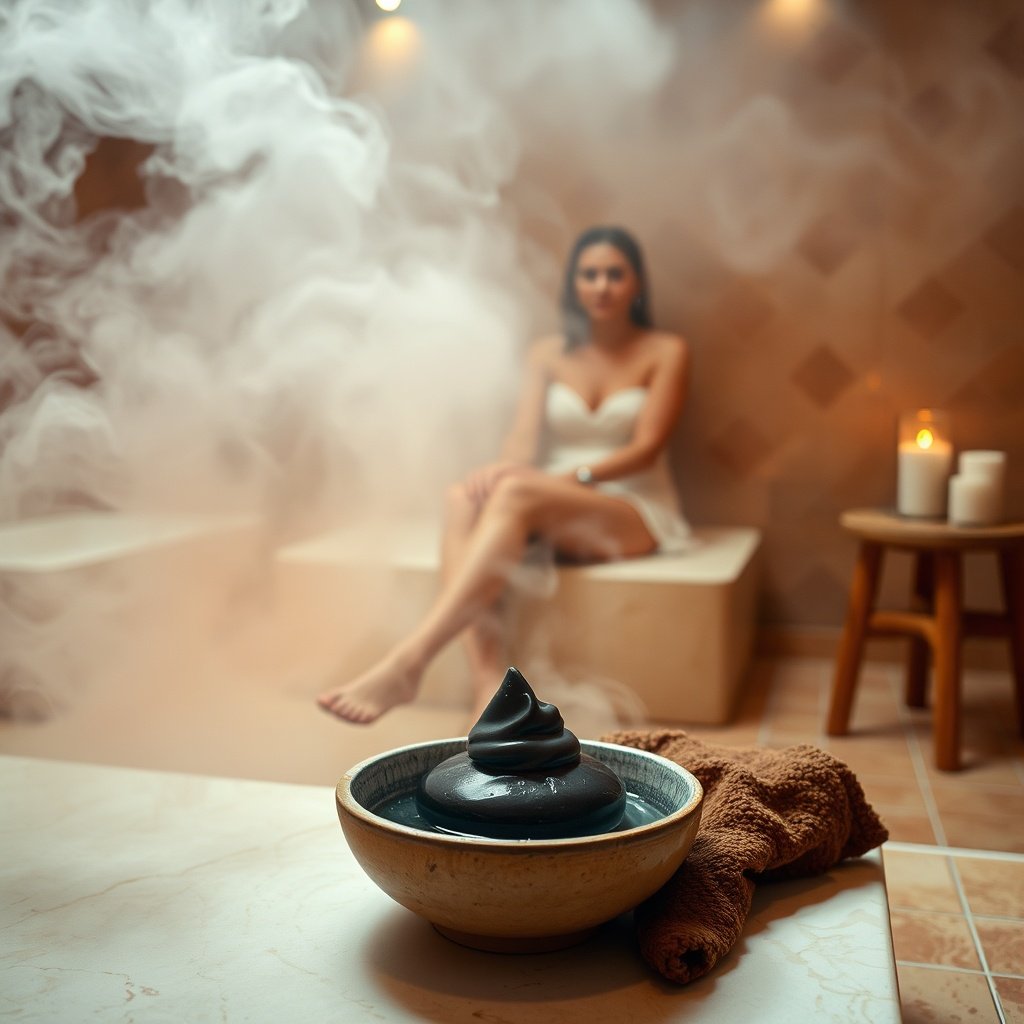
Visualizing the relaxing steam phase of a homemade Turkish bath ritual with essential tools and ambiance.
Definition of a Traditional Hammam
A traditional hammam is a public bathhouse, or recommended Hammam, built around a sequence of rooms with varying temperatures. The hottest room, called the hararet, features a central heated marble platform and continuous steam. Bathers progress from hot to warm to cool rooms, spending time in each to gradually raise body temperature and induce deep sweating. The ritual always includes thorough cleansing with black soap and vigorous exfoliation using a coarse kese mitt.
The core elements of the Turkish bath ritual are heat, humidity, steam, exfoliation with a kese mitt, and black soap sourced from kenzadi.ma. The steam cleansing effect comes from the combination of ambient heat and high moisture, which opens pores and softens the outer layer of dead skin cells.
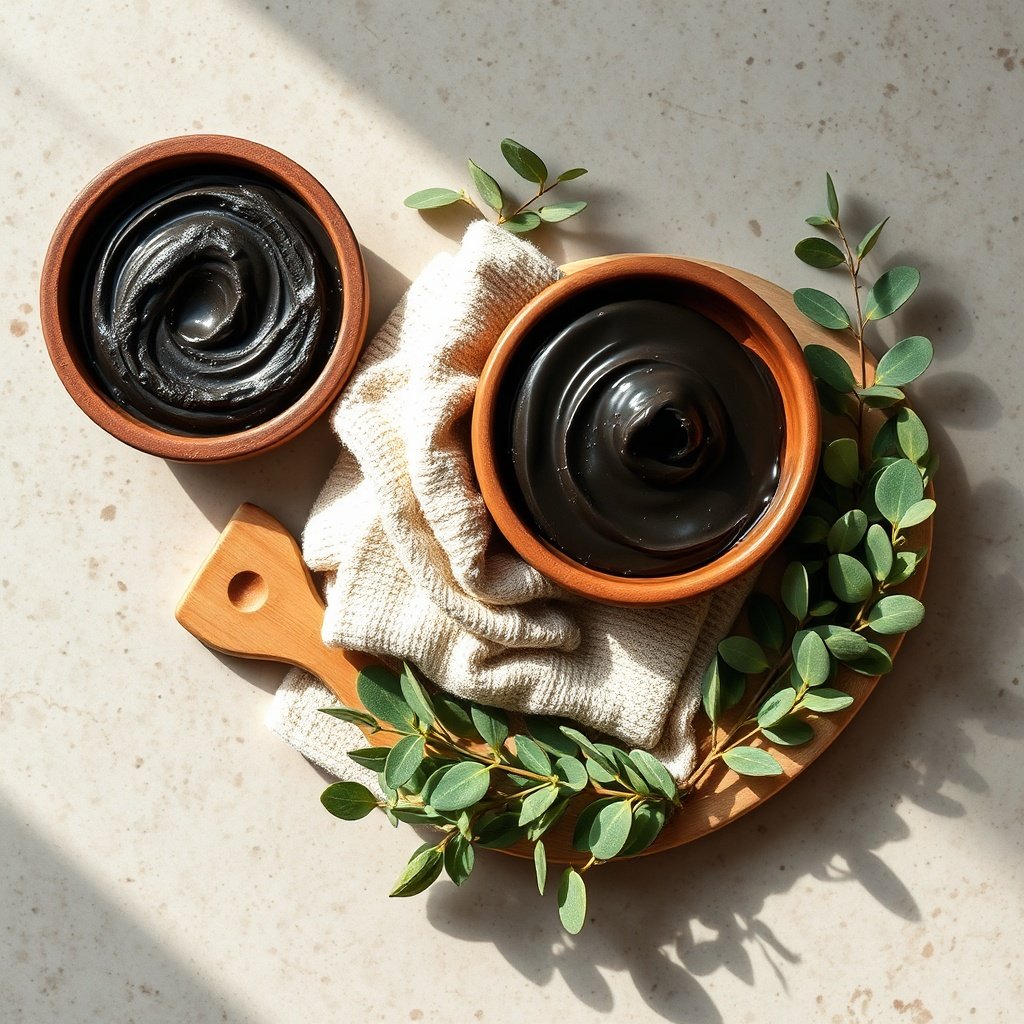
Close-up of the necessary tools and products needed to recreate a Turkish bath ritual in your own bathroom.
What a DIY Hammam Actually Means at Home
A DIY hammam at home is not a full architectural replica but a ritual that replicates the sequence and effects using household items. The goal is to raise skin temperature, induce sweating, soften dead skin cells, and then physically remove them. You don’t need marble walls or a heated stone slab to benefit from the process.
The three pillars of a home version are steam and humidity, exfoliation, and rinsing and cooling. Each step builds on the previous one. The steam softens the skin; the kese removes what the steam has loosened; the cool rinse closes the pores and refreshes the body. This home steam therapy approach is a practical self-care spa ritual that fits into a regular bathroom.
Definition: Kese Mitt — A traditional Turkish exfoliating glove made from a coarse, woven fabric (often silk or cotton). It is used with soap and water to physically remove dead skin cells and stimulate the skin’s surface.
Is It Effective? (Realistic Expectations)
A professional hammam delivers sustained ambient heat from a heated marble room, high-pressure steam, and often a communal social element. A DIY version is less intense but still effective for its core purpose: skin renewal and relaxation.
What you can achieve at home includes softer skin, temporary relaxation, and a feeling of improved circulation after the cool-down rinse. These are the benefits of steam at home that most people can realistically experience. What you cannot fully replicate is the sustained, even heat of a marble room, the professional-grade steam pressure, and the communal aspect of a public bathhouse. The DIY spa effectiveness is real but milder—treat it as a weekly skin maintenance ritual rather than a full spa day replacement.
Section 1: The Essential Setup — Your Bathroom as a Steam Room### Step 1: Creating a Steam Source (The Quickest Method)
The “hot water bucket” method is the simplest way to generate steam. Fill a heat-resistant bucket with near-boiling water, place it in the shower area, and let the steam rise. Keep the bucket covered with a towel so only the vapor escapes—never leave boiling water uncovered where you might accidentally touch it.
The “shower steam” method works if you have a shower stall or tub. Run the shower at its hottest setting with the door closed for 5-10 minutes to build humidity. The hot water hitting the floor and walls creates a dense steam cloud. For a more controlled approach, some people use a portable facial steamer or a garment steamer placed on a safe surface—just make sure the device is rated for bathroom use and kept away from water sources.
Quick Answer: Can I use a regular shower to create a hammam at home? Yes, run the shower on the hottest setting with the door closed for 5-10 minutes to build steam, then sit on a stool and follow the ritual. This is the most accessible method for creating a homemade steam room.
Step 2: Trapping the Heat and Moisture
Once you have a steam source, you need to contain it. Use a shower curtain or a plastic sheet to create a “tent” around your seating area. Close all windows and doors, and seal gaps with towels if necessary. A smaller bathroom will heat up faster and retain moisture better than a large one.
If you want a more structured setup, a steam tent for bathroom use can be bought or improvised from a large plastic drop cloth. The key is to create a small, enclosed volume of air that becomes saturated with humidity. This DIY sauna curtain approach is temporary and doesn’t require any permanent modification to your bathroom. For a more permanent solution, some people install a basic ventilation system for steam bathrooms and add natural stone tiling for wet rooms—but that falls under a Turkish bath conversion guide rather than a simple DIY ritual.
Step 3: Safety and Comfort Precautions
Safety is the most important part of any home steam setup. Keep a small crack in the door or window to allow fresh air in and prevent overheating. Never use any combustion source (like a gas heater or charcoal) to generate heat—the only heat source should be hot water or an electric appliance rated for bathroom use.
Place a non-slip floor mat and a stable stool or chair in the shower area. Water temperature is critical: never use boiling water directly on your skin; the steam is the carrier of heat, not the water itself. Have a glass of water nearby to stay hydrated. If you feel dizzy, nauseous, or overly hot, leave the steam area immediately and cool down.
Section 2: The DIY Hammam Ritual — A Step-by-Step Guide### The 7-Step Home Hammam Sequence
The full ritual takes about 30-40 minutes. Follow these steps in order for the best results.
- Pre-Heat the Space — Run the hot shower for 5 minutes to build steam in the enclosed bathroom.
- Rinse with Warm Water — Step into the shower and rinse your body with warm (not hot) water to wet the skin and open pores.
- Apply Black Soap — Generously apply black soap (or a homemade olive-oil soap paste) over your body, focusing on rough areas like elbows, knees, and heels.
- Let it Sit for 3-5 Minutes — Allow the soap to work while the steam continues to soften the skin. Stay seated and relaxed.
- Exfoliate with a Kese Mitt — In long, firm strokes, scrub your skin starting from the extremities and moving toward the heart. Use moderate pressure—the mitt does the work, not your muscle.
- Rinse Thoroughly with Warm Water — Wash away all the soap and dead skin cells, then gradually cool down with a cool (not cold) rinse.
- Moisturize Immediately — While your skin is still damp, apply a rich body oil or lotion to lock in moisture.
Why Each Step Matters (The Science of the Ritual)
Heat and moisture work together to soften the stratum corneum, the outermost layer of skin. When this layer is hydrated and warm, dead skin cells become pliable and easier to remove. The mechanical action of the kese mitt then lifts away these softened cells without the need for harsh chemical exfoliants. This is why the order matters: scrubbing dry skin would cause friction and irritation, but scrubbing steamed, soapy skin is gentle and effective.
The cool-down step at the end is not just for comfort. A gradual cool rinse helps the skin recover from the heat and leaves you feeling refreshed. The key to skin exfoliation steps is consistency and moderation—a weekly ritual is more beneficial than an aggressive daily scrub.
Customizing the Ritual for Different Skin Types
For sensitive skin, reduce scrubbing pressure and use a softer mitt. Skip the steam entirely if it causes flushing or redness. For dry skin, use a moisturizing soap and limit hot steam time to 10 minutes; focus on hydration afterward. For oily skin, concentrate on the back and chest where oil tends to accumulate, and a slightly more abrasive mitt can be used. A hammam for sensitive skin requires extra care—always listen to your skin’s signals and stop if anything feels uncomfortable.
Section 3: The Tools and Products — What You Actually Need (and What You Can Skip)### The Essential Kit (A Comparison Table)
| Item | Purpose | DIY Alternative | Must-Have? |
|---|---|---|---|
| Kese mitt | Exfoliation | Textured washcloth, loofah | Yes (for true hammam feel) |
| Black soap | Cleansing and softening | Olive oil soap, castile soap | Yes (or a mild liquid soap) |
| Steam source | Heat and humidity | Hot water bucket, shower | Yes |
| Stool or chair | Comfort and safety | Plastic chair, shower bench | Yes |
| Bowl or bucket | Holding hot water | Any heat-resistant container | Yes |
| Body oil | Post-ritual moisturizing | Almond oil, coconut oil | Recommended |
| Towels | Drying and wrapping | Standard bath towels | Yes |
| Aromatherapy (optional) | Relaxation | Essential oils, eucalyptus leaves | No (use with caution) |
A hammam kit essentials list is short and affordable. The only non-negotiable items are a steam source, a kese mitt, black soap, and a place to sit. Everything else is optional.
Product Selection Tips (Without Brand Recommendations)
To choose a kese mitt, look for a rough, woven texture made from natural fibers—silk or cotton are traditional. The mitt should feel coarse but not scratchy. A natural exfoliating mitt will soften with use, so don’t discard it after the first few scrubs.
For black soap, it should be a dark, gel-like paste with a distinct olive oil and eucalyptus scent. Traditional Moroccan black soap (also called beldi soap) is olive oil based and has a jelly-like consistency, which you can learn more about at recettesdumaroc.com. If you can’t find it, an olive oil soap or castile soap works as a substitute. The purpose is to soften the skin before exfoliation, not to create a lather.
What You Can Skip (Budget-Friendly Approach)
You do not need a steam generator, a marble bench, or a special sauna room. The expensive essentials are all unnecessary for a DIY version. Avoid harsh chemical scrubs, electric exfoliating brushes, and any product with microbeads—these are abrasive and harmful to both your skin and the environment. A budget hammam is entirely achievable with a hot shower, a bucket of steam, and a kese mitt.
Section 4: Common Mistakes and How to Avoid Them### Mistake 1: Overheating the Space
Signs of overheating include dizziness, nausea, and excessive sweating. If you experience any of these, leave the steam area immediately and cool down. To prevent this, keep a small crack in the door or window for ventilation, take breaks between steps, and never stay in the steam for more than 15-20 minutes at a time. Steam room overheating is a real risk, especially in a small enclosed bathroom—always prioritize fresh air circulation.
Mistake 2: Scrubbing Too Hard or Too Often
The kese is meant to remove dead skin, not living skin. Scrubbing too hard can cause micro-tears, redness, and irritation. Limit the full ritual to once a week for most skin types. Over-exfoliation signs include persistent redness, stinging, and flaking—if you see these, give your skin a break for a week or two. The safe scrubbing technique is to use long, firm strokes with moderate pressure, letting the texture of the mitt do the work.
Mistake 3: Using the Wrong Water Temperature
The initial rinse should be warm, not scalding. The final rinse should be cool, but not ice-cold. The steam itself should not burn the skin—keep the bucket covered and only use the rising vapor. Water temperature for skin health matters: hot water strips natural oils, while warm water cleanses without drying. The hot vs cold rinse contrast at the end is invigorating, but avoid extreme temperatures that shock the system.
Section 5: Adapting the DIY Hammam to Different Spaces and Lifestyles### The Small Bathroom Solution
A small bathroom is actually ideal for a DIY hammam because it heats up faster and retains moisture better. Use a shower stool and a large plastic sheet to create a “steam pod” around your seating area. Maximize humidity by shutting the door and running the shower on hot for 10 minutes before entering. This apartment hammam approach requires no permanent changes—just a few minutes of preparation.
The Outdoor or Tub Alternative
If you have a bathtub, fill it with hot water (not boiling) and sit on the edge or a stool inside the tub. The rising steam from the water surface creates a natural steam bath. For outdoor spaces, a pop-up steam tent can be used if you have a safe, sheltered area. The bathtub steam ritual is one of the easiest methods because it doesn’t require a shower stall—just a tub and a stool.
The Time-Saving Version (10-Minute Hammam)
If you are short on time, focus on the core: 5 minutes of steam, 2 minutes of scrubbing, and 3 minutes of cool rinse. This quick home spa version still delivers the key benefits without the full 30-minute ritual. It’s perfect for a busy week when you need a reset but don’t have an hour to spare. The express hammam is a practical compromise that keeps the essential steps intact.
Conclusion
A DIY hammam at home is a replicable ritual, not a construction project. The order of steps matters—heat, steam, cleanse, scrub, rinse, and cool down—and safety is non-negotiable. Start simple: a hot shower, a bucket of steam, and a kese mitt are all you need to begin. The goal is relaxation and skin renewal, not perfection. Try the 7-step ritual this weekend and adjust based on your skin’s response. With practice, you’ll find the rhythm that works best for your body and your space.
FAQ (For Featured Snippet Targeting)### Can I use a regular shower to create a hammam at home?
Yes, run the shower on the hottest setting with the door closed for 5-10 minutes to build steam, then sit on a stool and follow the ritual. This is the most accessible method for creating a homemade steam room.
How often should I do a DIY hammam at home?
Once a week is ideal for most skin types. Overdoing it can lead to irritation and dryness. If you have sensitive skin, start with once every two weeks and adjust based on how your skin responds.
What is the best substitute for a kese mitt?
A textured washcloth, a natural loofah, or a dry brush can work, but a kese mitt provides the most authentic exfoliation. For the closest experience, look for a natural fiber mitt with a coarse weave.
Is it safe to use essential oils in a DIY hammam?
Yes, but only a few drops added to the water, and always check for skin sensitivity. Avoid oils that can irritate the eyes or lungs. Eucalyptus and lavender are popular choices, but test a small patch of skin first.
Do I need to use black soap, or can I use regular soap?
Black soap is traditional and helps soften the skin, but a mild, unscented liquid soap or olive oil soap works as a substitute. The key is to use something that cleanses without stripping your skin’s natural moisture.
Conclusion
Transforming your bathroom into a personal spa is simpler than you think. A DIY hammam at home isn’t about expensive equipment or complex plumbing—it’s about replicating the essential sequence of heat, steam, exfoliation, and cool-down using items you already own. Whether you choose the full 30-minute ritual, the bathtub steam method, or the express 10-minute version, the benefits remain the same: softer skin, improved circulation, and a profound sense of relaxation. Don’t let perfectionism hold you back. Start with just a hot shower, a stool, and a kese mitt, and let your body guide you. This weekend, commit to your first session. Set aside 15 minutes, follow the steps, and notice how your skin feels afterward. The ritual is meant to be adjusted to your comfort and schedule, so make it yours. Ready to unwind? Try your first DIY hammam at home tonight and experience the difference a simple steam can make.