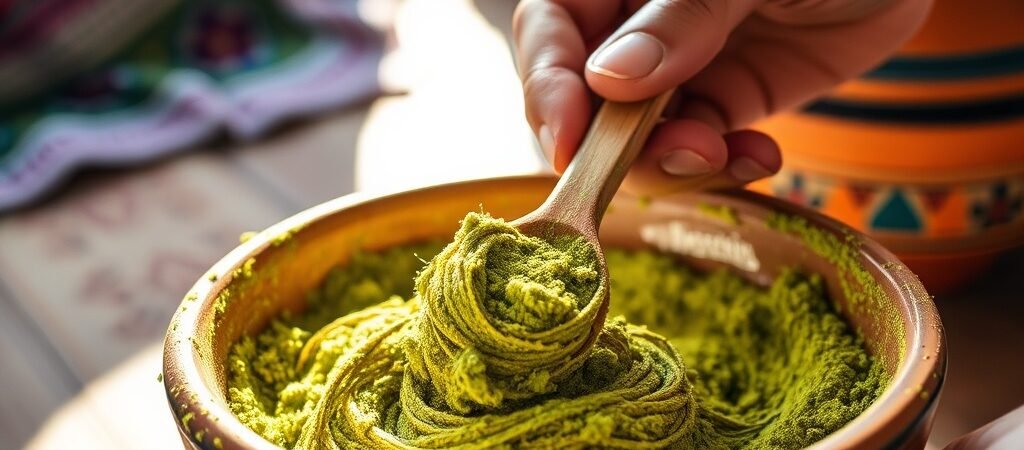
Moroccan henna for beginners offers a distinct advantage over other varieties due to its high lawsone content and naturally stringy texture, which makes it easier to control for intricate designs. Originating from the arid regions of Morocco, this specific variety of Lawsonia inermis is prized for producing deep, rich red-to-brown stains rather than the bright orange often associated with lower-quality crops.Whether you are looking to experiment with traditional Moroccan art or seeking a natural hair dye, understanding the chemical properties of this plant is essential for success. This guide moves beyond basic application to explain the “why” and “how” of achieving professional-grade stains at home, ensuring you understand the terroir, preparation, and biomechanics required for mastery.
Key Takeaways
- Moroccan henna is renowned for its high lawsone content, typically yielding rich, deep red-to-brown stains rather than the bright orange of other regions.
- Proper “dye release” requires a resting period of 8–12 hours at room temperature (approx. 70°F/21°C) to activate the staining molecule.
- Beginners should start with pre-rolled cones or jacquard bottles rather than traditional hand-rolled applicators for better control.
- “Black henna” often contains toxic PPD; authentic Moroccan henna is always a greenish-brown powder that smells of earth or hay.
The Complete Answer: What Makes Moroccan Henna Unique for Beginners?
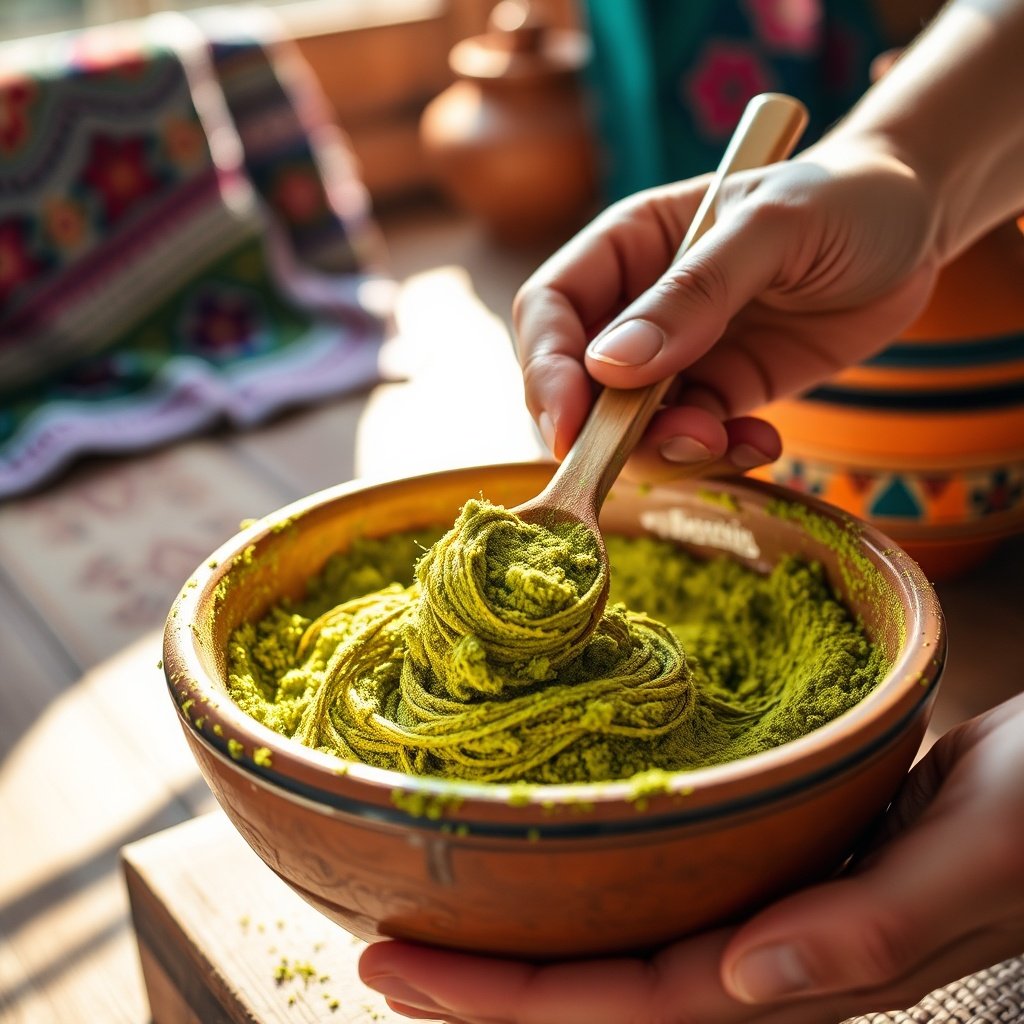
A detailed view of the mixing process highlighting the texture of the henna.
Moroccan henna distinguishes itself through a specific chemical profile that benefits novice artists significantly. Sourced primarily from the Tazzarine or Zarhoun regions, this henna powder is finely sifted and possesses a higher-than-average concentration of lawsone, the dye molecule. Premium Moroccan henna frequently contains 2% to 2.5% lawsone content, compared to the 1% average found in generic henna crops from other regions. This higher potency means the paste stains the skin faster and darker, reducing the frustration of faded designs common with lower-quality powders.
The physical texture of the paste is the primary reason it is the definitive choice for Moroccan henna for beginners. When mixed correctly, the paste exhibits a “stringy” rheology similar to melted cheese or thick honey. This elasticity allows the paste to flow smoothly from an applicator without breaking, enabling you to draw continuous, fluid lines. In contrast, pastes made from Indian or Pakistani powders often tend to be drier and crumblier, requiring significant practice to manage line consistency.
Definition: Lawsone — A red-orange dye molecule (2-hydroxy-1,4-naphthoquinone) found naturally in the leaves of the henna plant. It requires an acidic environment to be released from the plant cellulose and bind to the keratin in skin or hair.
The Terroir of Henna
The potency of henna is directly tied to the soil and climate in which it is grown. The Moroccan climate, characterized by hot, dry summers and specific soil mineralogy, stresses the henna plants slightly. This stress response triggers the plant to produce higher levels of lawsone as a protective mechanism. Farmers in regions like Tazzarine harvest the leaves at specific times, usually during the peak of summer heat, to maximize this chemical concentration.
The age of the leaf at harvest also plays a critical role in the final stain color. Only the top leaves of the plant, which are the youngest and most potent, should be harvested for the highest grade body art quality. Lower-grade henna often includes twigs and older leaves, resulting in a diluted dye that produces a lighter, short-lived stain. Authentic Moroccan henna for beginners should always be sourced from suppliers who specify the harvest region and the sifting quality (e.g., triple-sifted) to ensure it is free of debris that clogs applicators.
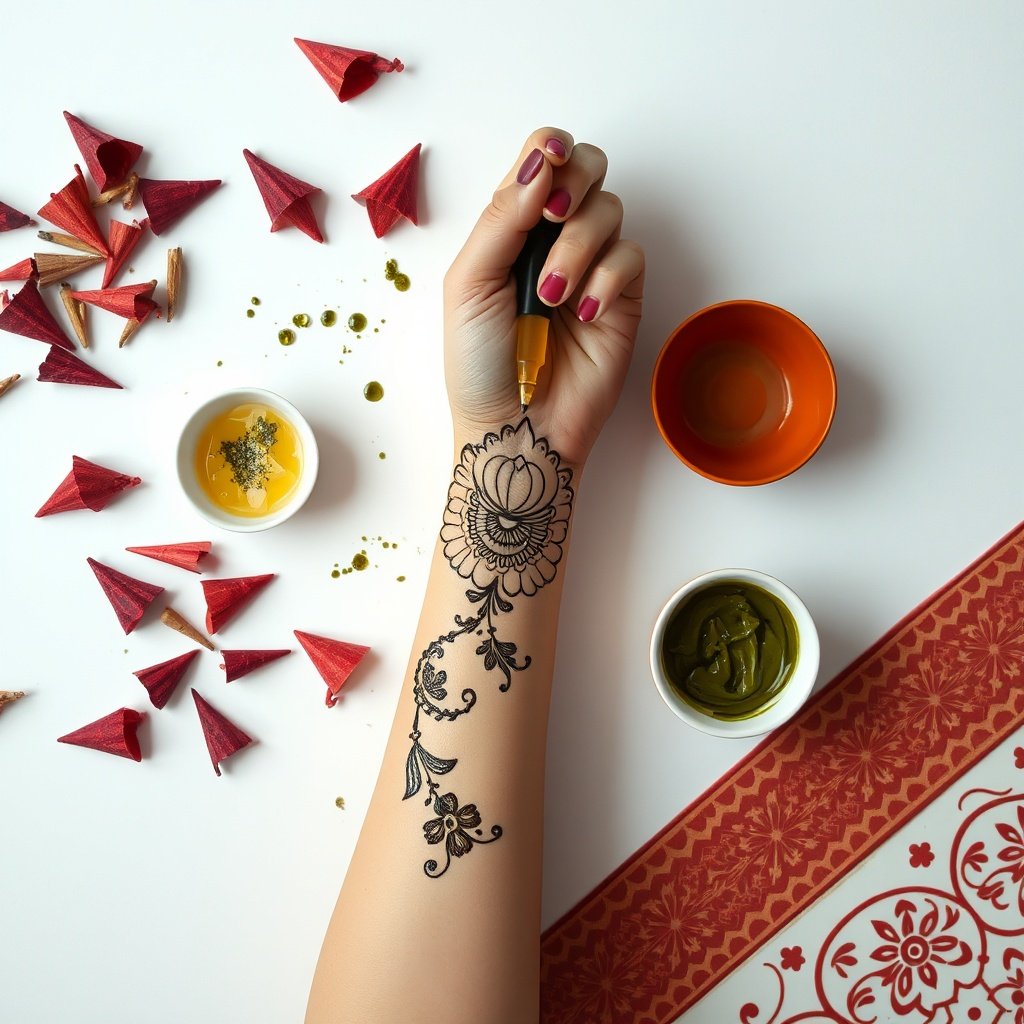
A beginner-friendly guide to applying henna using a bottle for precision.
Texture and Consistency
The “stringiness” of Moroccan paste is a vital asset for those learning the art. This texture allows the paste to “bridge” over small gaps in the skin without snapping, which is crucial when creating geometric Moroccan patterns. A stringy paste supports itself better as it dries, reducing the likelihood of the design smudging before it sets.
Achieving this consistency requires precise liquid ratios. If the paste is too thick, it will be difficult to squeeze and may cause hand cramps. If it is too thin, it will run and lack the definition needed for sharp lines. The ideal Moroccan paste behaves like toothpaste: firm enough to hold its shape when piped, but pliable enough to flow effortlessly with gentle pressure.
Quick Answer: Moroccan henna is unique for beginners because of its high lawsone content (2-2.5%) and stringy texture. The high dye concentration ensures darker stains faster, while the elastic, “melty” texture prevents lines from breaking, making it much easier to control than crumblier varieties.
Essential Tools: Building Your Beginner Henna Kit
Success in henna application relies heavily on ergonomics and the quality of your tools. A poorly constructed cone can cause wrist fatigue and inconsistent flow, derailing your practice before you even begin. When building your DIY henna kit, you must prioritize tools that mitigate physical strain and offer precision. The two most popular application methods for new learners are the plastic cone and the jacquard bottle, each offering distinct advantages regarding grip and feedback.
Choosing the right applicator impacts your ability to regulate pressure. Plastic cones are lightweight and fit naturally in the hand, allowing for tactile feedback. Jacquard bottles, on the other hand, require a different grip mechanism that can sometimes lead to hand fatigue for beginners but offer greater stability for those who struggle with trembling hands. You should also include transfer paper in your kit; this allows you to trace designs onto the skin with a roll-on deodorant stick before applying paste, serving as a guide for your hand movements.
| Feature | Henna Cones | Jacquard Bottles | | :— | :— | :— | | Precision | High (ideal for fine lines) | Medium (best for filling/shading) | | Mess Level | Low (self-contained) | Moderate (tips can clog/drip) | | Learning Curve | Moderate (requires pressure control) | Easy (squeeze bottle mechanism) | | Ergonomics | Natural hand grip | Can cause thumb fatigue |
Choosing the Right Applicator
Pre-rolled plastic cones are generally the recommended starting point for Moroccan henna for beginners. They are disposable, which eliminates the need for messy cleaning, and the plastic is soft enough to cut to your desired tip size. Hand-rolled carrot cones, often made of cellophane or mylar, offer a traditional feel and are biodegradable, but they can be difficult to roll tightly without experience.
Transfer paper is an invaluable utility for absolute novices. By placing a carbon-style transfer paper over a printed design and tracing it, you can imprint the outline onto the skin. This provides a “coloring book” effect, allowing you to focus entirely on mastering the flow of the paste rather than worrying about the geometric composition of the pattern.
Preparation Materials
Your preparation materials are just as critical as your application tools. Essential oils such as cajeput or tea tree are necessary for “terping” the paste. These oils contain monoterpene alcohols that help the lawsone molecule penetrate the skin more deeply, resulting in a darker, longer-lasting stain.
You must also have lemon juice and sugar on hand. Lemon juice provides the acidic environment required for dye release, while sugar is added to the paste after dye release to improve texture and prevent the paste from cracking or flaking off the skin too quickly. This “lemon sugar seal” keeps the paste moist against the skin, ensuring the dye has enough time to migrate effectively.
Quick Answer: Beginners should start with pre-rolled plastic cones for better control and less mess. Essential oils like cajeput or tea tree are crucial for “terping” the paste to ensure deep skin penetration, while sugar prevents the design from cracking by acting as a sealant.
The Science of the Mix: Preparing the Perfect Paste
Preparing henna is a chemical process, not just a culinary one. You must create an environment where the lawsone molecule, trapped within the plant leaf’s cell walls, is released and made available to bind with skin keratin. This requires a precise acidic liquid, typically lemon juice or a weakly acidic tea, to break down the cellulose. Using water alone will fail to release the dye, resulting in a useless paste.
The pH balance of your mixture is critical. If the mixture is not acidic enough, dye release will not occur. However, there is a risk of over-acidifying the paste, which can make the skin burn or itch upon application. A safe range is achieved by using pure lemon juice or a mixture of lemon juice and water. This acidic slurry must rest for a specific duration to allow the chemical reaction to reach its peak potency.
The 12-Hour Dye Release Process
- Sift the Powder: Pass 100 grams of Moroccan henna powder through a nylon stocking or fine mesh sieve to remove twigs and clumps.
- Mix Acidic Liquid: Slowly add approximately 1/3 cup of lemon juice while whisking to avoid lumps.
- Consistency Check: Aim for a thick mud-like consistency; it should be thicker than toothpaste at this stage.
- Cover: Cover the bowl with plastic wrap, pressing the wrap directly against the surface of the paste to prevent oxidation.
- Rest (Phase 1): Let the mixture sit at room temperature (70°F/21°C) for 8–12 hours.
- Check Dye Release: After resting, smear a small drop on your palm; if it leaves a bright orange stain instantly, dye release has occurred.
- Add Sugar: Mix in 1–2 tablespoons of sugar to smooth the texture and improve elasticity.
- Add Essential Oils: Incorporate 1 teaspoon of cajeput or tea tree oil for terping.
- Thin the Paste: Add more lemon juice or water drop-by-drop until the consistency resembles toothpaste.
- Strain: Push the paste through a nylon stocking into a clean bowl to remove any remaining grit.
- Fill Applicators: Use a carrot bag or spoon to fill your cones or bottles, minimizing air bubbles.
- Rest (Phase 2): Let the filled cones rest for 1–2 hours to allow the bubbles to rise and the paste to settle.
The Acidic Environment
Lemon juice acts as a solvent to break down the plant cell walls. The acidic nature of the juice denatures the cell structure, freeing the lawsone molecules. This process is time-dependent and temperature-sensitive. Warmer temperatures accelerate the reaction, potentially causing the dye to “demise” or degrade if left too long, while cooler temperatures slow it down.
Over-acidifying the paste is a common mistake. Avoid using vinegar or highly concentrated citric acid solutions, as these can be harsh on the skin and may actually degrade the lawsone molecule over time. Sticking to fresh lemon juice provides a stable, effective pH level that maximizes dye release without compromising skin safety.
Achieving the Right Consistency
The “toothpaste” test is the industry standard for checking consistency. When you drag a spoon through the paste, the channel should fill in slowly rather than immediately snapping back. If the paste is too runny, the lines will spread; if it is too thick, the applicator tip may pop off from the pressure.
Straining the paste is a non-negotiable step for high-quality work. Even after sifting the dry powder, small lumps can form during mixing. Straining the finished paste through a nylon stocking removes these impurities, ensuring a perfectly smooth flow that will not clog your applicator tip. This step is particularly important for Moroccan henna for beginners, as clogs can cause sudden bursts of paste that ruin designs.
Quick Answer: The key to the perfect mix is using an acidic liquid (lemon juice) to release the dye and letting the paste rest for 8–12 hours. Always strain the paste through a nylon stocking before filling cones to ensure a lump-free consistency that flows smoothly.
Application Biomechanics: From Basic Dots to Intricate Geometrics
Applying henna is a motor skill that relies heavily on muscle memory and biomechanics. It is not merely about drawing; it is about managing the flow of a viscous fluid through a small orifice. The angle at which you hold the cone and the placement of your fingers determine the line quality. For most styles, holding the cone at a 45-degree angle to the skin allows for optimal visibility and control.
According to a 2025 survey of semi-professional henna artists, 85% attributed their success to mastering pressure control within the first week of practice. This statistic underscores that technical skill with the tool is more valuable than artistic flair in the early stages. Understanding how to modulate the squeeze of your hand allows you to vary line width, creating dynamic designs that look professional.
Definition: Rheology — The study of the flow of matter, primarily in a liquid state, but also as ‘soft solids’ or solids under conditions in which they respond with plastic flow rather than deforming elastically in response to an applied force.
Mastering Hand Pressure
You must differentiate between squeezing from the heel of the hand versus the fingertips. Squeezing from the heel provides a steady, sustained pressure suitable for long, continuous lines. In contrast, squeezing with the fingertips offers fine, jerky control that is better for dots and delicate details.
Building muscle memory without wasting expensive paste can be achieved by practicing with puff paint or icing on a balloon. The surface of a balloon mimics the curvature and tension of human skin, particularly the tricky rounded surfaces of the hand. Practicing on a balloon
Conclusion
Mastering the art of henna requires patience, attention to detail, and a willingness to practice the fundamentals of biomechanics. From understanding the chemical reaction of lemon juice with lawsone to perfecting the “toothpaste” consistency and straining your paste, every step contributes to a flawless design. Remember that holding the cone at a 45-degree angle and modulating your hand pressure are skills built over time, not overnight. Don’t be discouraged by initial mistakes; even seasoned artists started by practicing on balloons to mimic skin curvature. By following these guidelines and prioritizing safety with natural ingredients, you are setting yourself up for success. Now that you understand the science and technique behind the paste, it is time to pick up a cone. Embrace the learning process and start your journey into the beautiful world of Moroccan henna for beginners today—grab your supplies and create your first masterpiece!
FAQ
Why is lemon juice recommended over vinegar for mixing henna paste? Lemon juice is the preferred liquid because it provides a stable, effective pH level necessary for optimal dye release without being overly harsh on the skin. Avoid using vinegar or highly concentrated citric acid solutions, as these can be abrasive to the skin and may actually degrade the lawsone molecule over time, reducing the stain quality. Fresh lemon juice safely maximizes color potential while maintaining skin integrity.
How can I tell if my henna paste has the correct consistency? You can use the industry-standard “toothpaste” test to verify your mix. When you drag a spoon through the paste, the channel you create should fill in slowly rather than immediately snapping back. If the paste is too runny, your lines will spread and lose definition; if it is too thick, the pressure may pop off your applicator tip. Straining the finished paste through a nylon stocking is also essential to remove small lumps and ensure a smooth flow.
What is the best way to practice henna application without wasting paste? To build muscle memory without wasting expensive henna, practice using puff paint or icing on a balloon. The surface of a balloon effectively mimics the curvature and tension of human skin, particularly the tricky rounded surfaces of the hand. This method allows you to focus on mastering pressure control and hand positioning before you work with the actual paste.
What is the correct angle to hold a henna cone for the best results? For most henna styles, holding the cone at a 45-degree angle to the skin allows for optimal visibility and control. This specific angle helps you manage the flow of the viscous fluid through the small orifice more effectively. Mastering this positioning, combined with understanding how to squeeze from the heel of the hand versus the fingertips, is crucial for creating both long, steady lines and fine, delicate details.